
What you'll do
Add your BCBAs, RBTs and admins, set what areas of your account each one can access, and fill in the details their sessions and documents depend on.
Before you start
- Have each person's name and email, their NPI, and their supervisor if they have one.
Video walkthrough
Step by step
Add the user
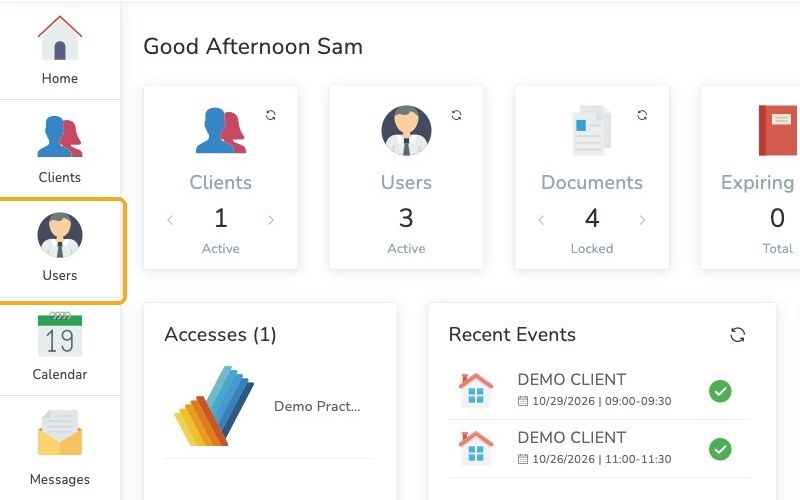
From your Home page, click Users in the left menu.
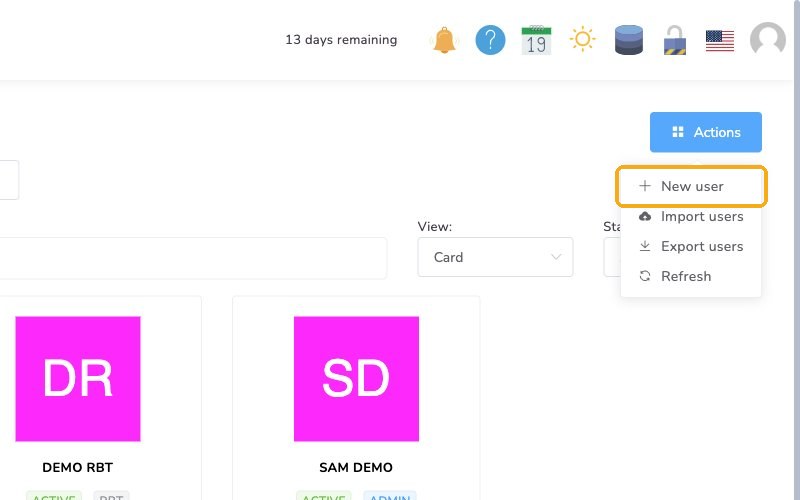
Click Actions, then select New user.
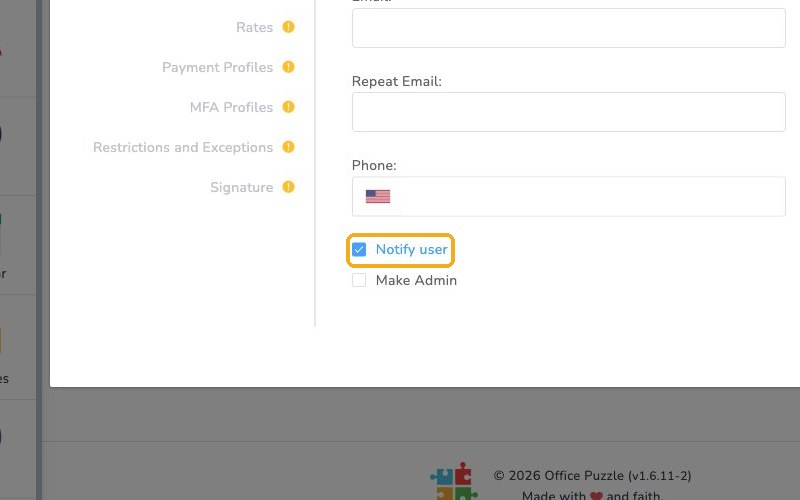
Fill in as much as you can, or just add the basics and come back later. With Notify user selected, they'll get an email to set up their login.
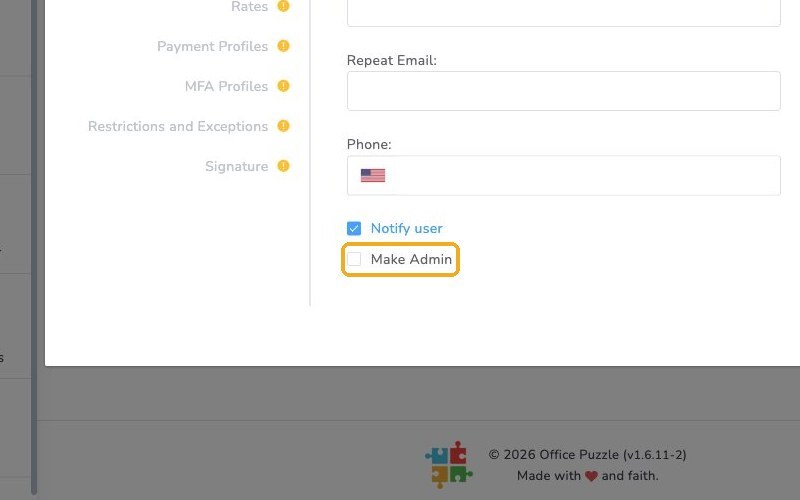
For someone who needs full agency access, check Make Admin.
Complete their profile
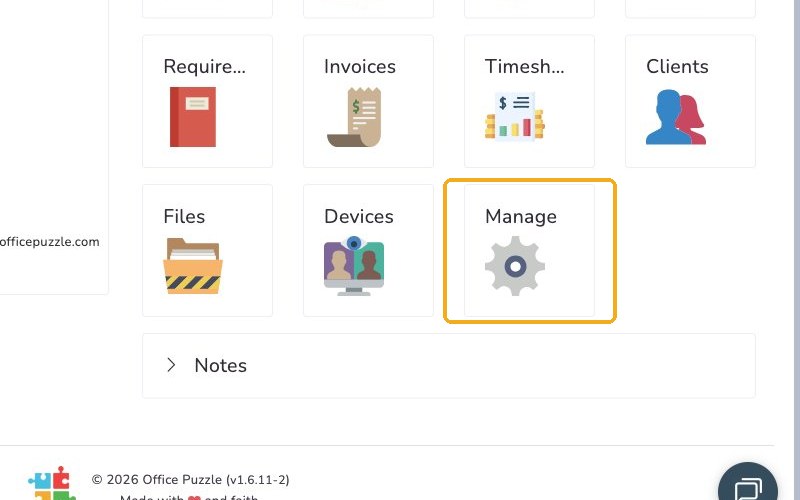
To edit a user, click them, then select Manage.
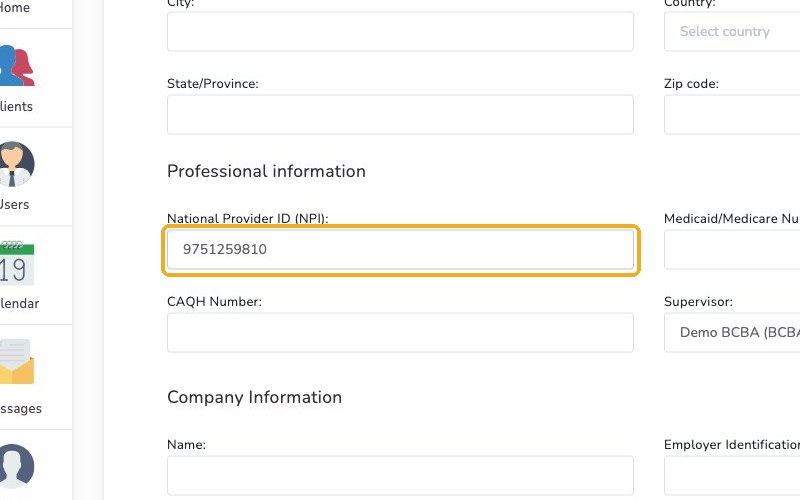
Scroll down on the General information tab to add their National Provider ID (NPI), and their Supervisor if they have one. Click Save at the bottom of the page.
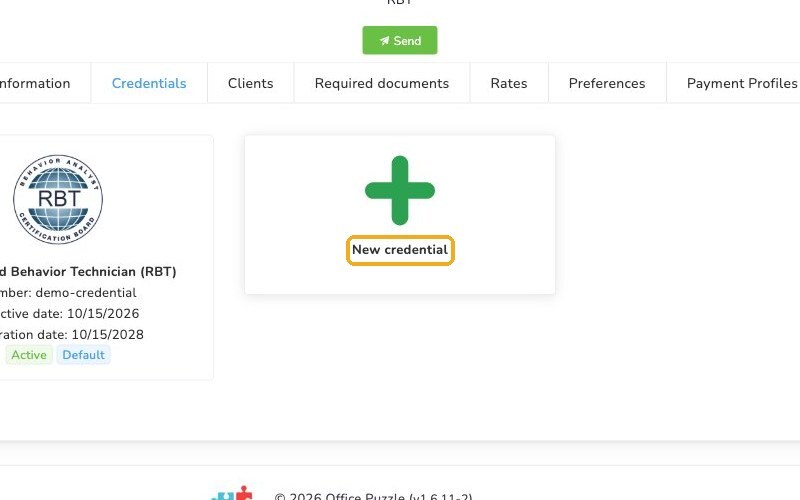
Select the Credentials tab and add the user's credentials.
Don't skip credentials
Without credentials, you'll run into problems creating events for this user.
Assign clients
The Clients tab lists the clients assigned to this user. Click Add to assign a client.
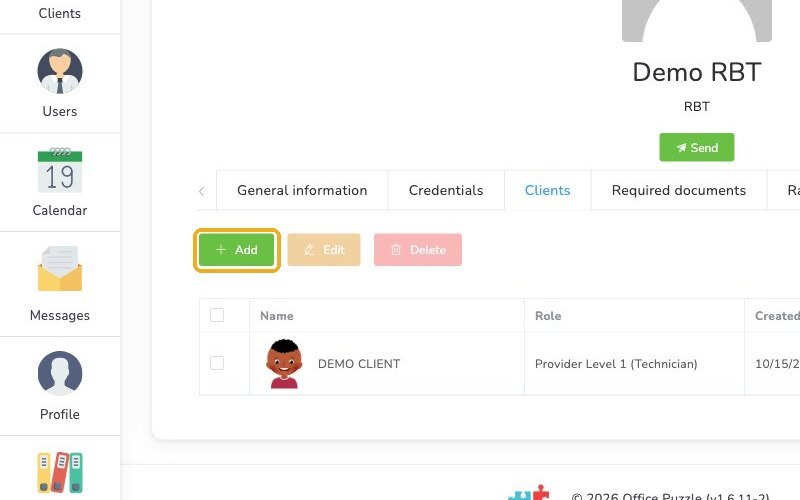
Choose their role for each client: Provider Level 1 for RBTs, Provider Level 2 for BCBA supervisors, or Admin.
Add a signature
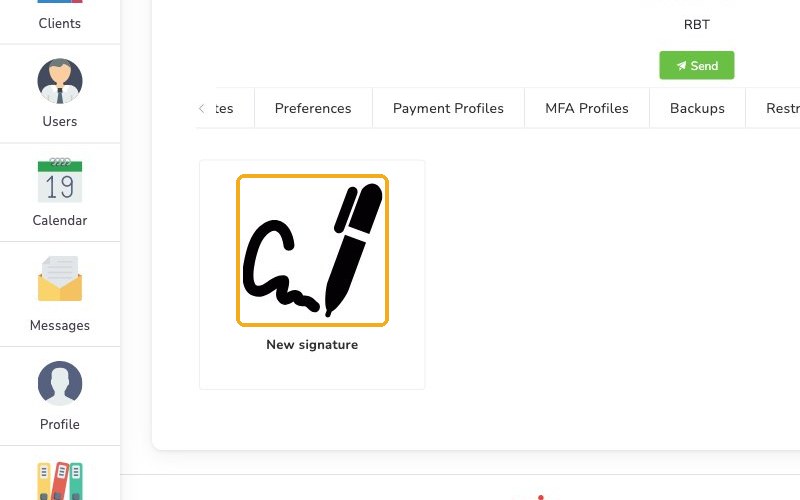
Click the arrow at the end of the tab row, then select Signature. Users can add their signature here, so it's easy to include in documents.
Disable a user
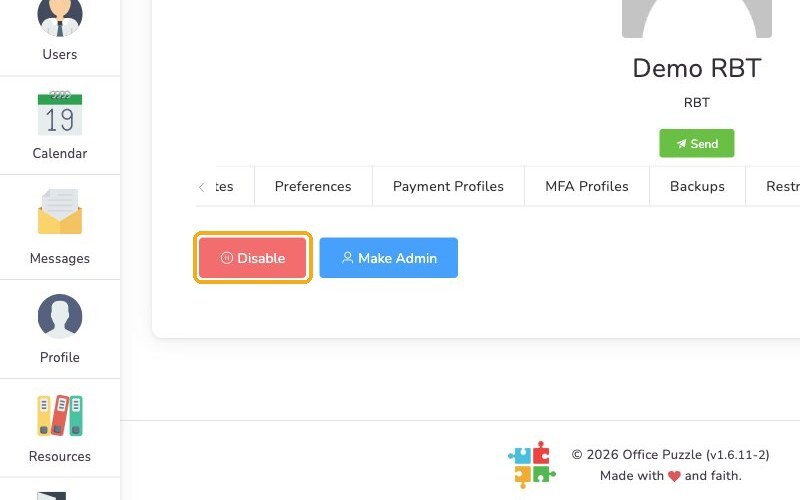
To remove a user, select the Advanced tab and click Disable.
Check it worked
- The user appears on the Users page.
- Their profile has an NPI, credentials, and their assigned clients.
Watch out for
- Missing credentials. You'll run into problems creating events for this user.
- Hidden tabs. Signature is past the end of the tab row. Click the arrow to see it.