
What you'll do
Set the rules Office Puzzle checks every time your team schedules a visit. You set them once, and every visit follows protocol.
Before you start
- Add your payers, billing codes and rates first (see Payers and Contract Rates).
- Know your state and payer requirements for prior authorization, EVV and signatures.
Video walkthrough
Step by step
Open your event settings
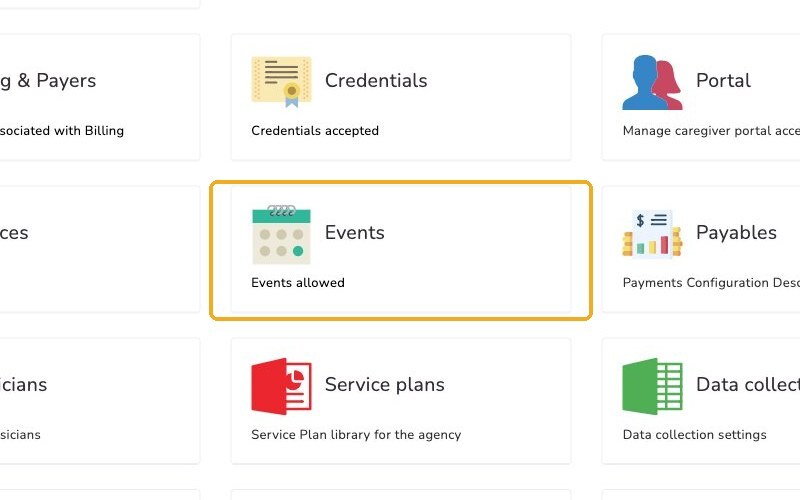
From your Home page, under Accesses, click your agency's name to open your Agency Dashboard. Click Configuration, then Events.
You'll see each type of event your agency uses. Click Appointment, the event type your team uses to schedule sessions.
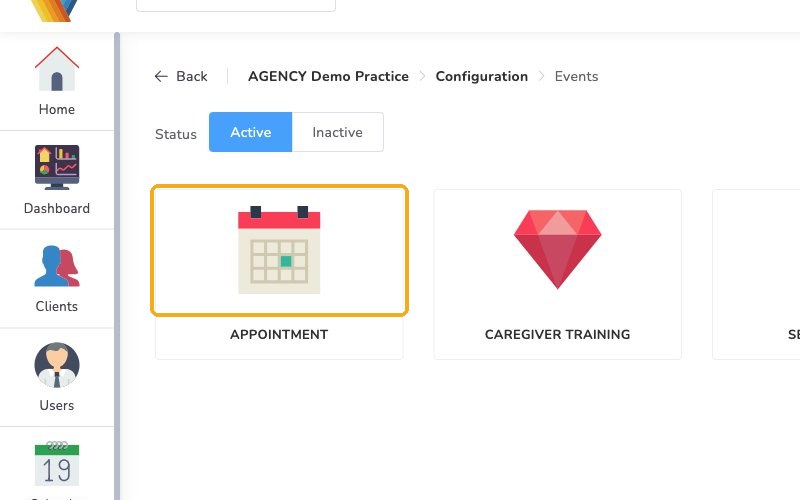
Select the Configuration tab.
Read the caution message first
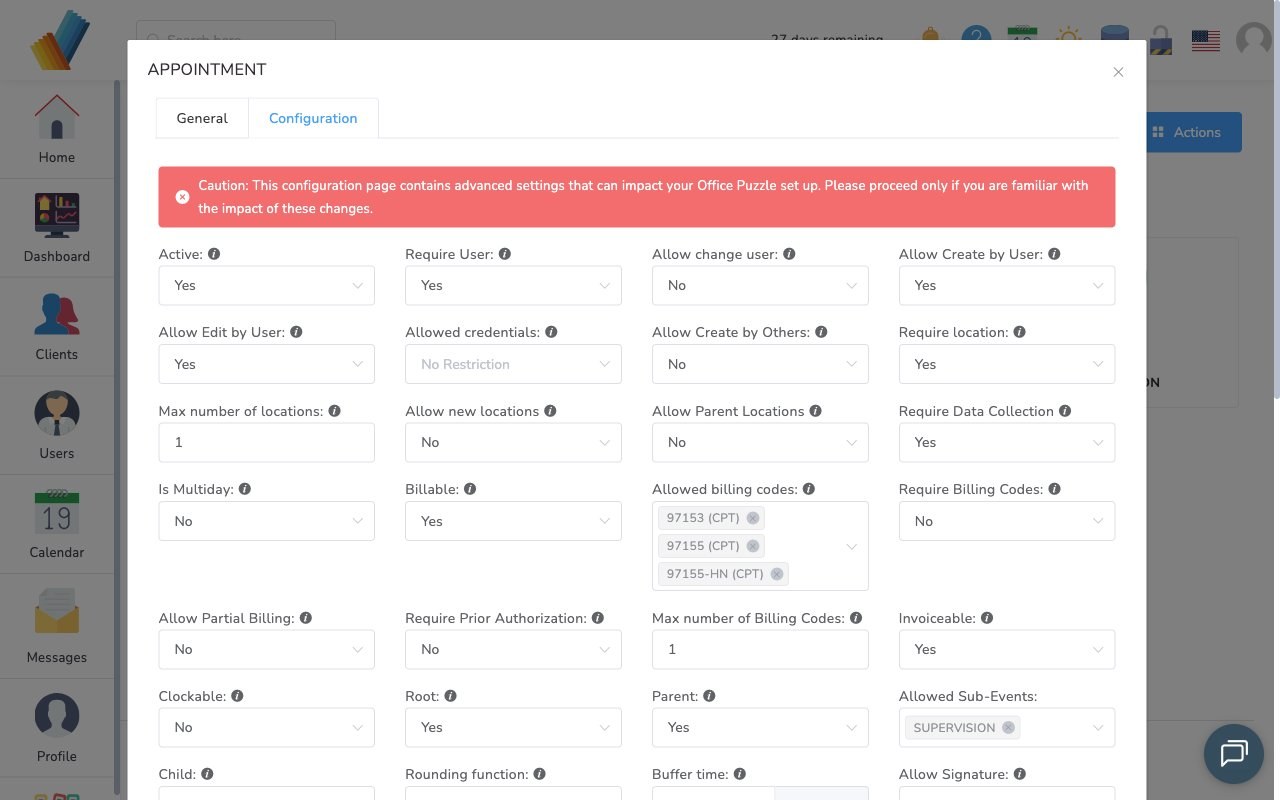
These settings can change how your whole schedule works. Only change one after reviewing what it does. Click the info icon next to a setting to learn more. You can leave the other settings at their defaults for now.
Set the rules for Appointment
Review the settings agencies typically customize for their state or payer requirements. They apply every time someone books an Appointment.
- Allowed credentials: Which staff credentials can create this type of event. Or leave it set to "No restriction."
- Allowed billing codes: Which codes are available when someone creates the visit. If a code is missing from the visit, add it here.
- Require Prior Authorization: Turn on if your insurance plans require prior authorization. RBTs then can't create a visit without an authorization, and the units used are deducted from it automatically.
- Clockable: Turn on to use EVV (Electronic Visit Verification). Staff clock in and out on the event, and EVV verifies the location and timing of the visit.
- Require signature: Turn on if a signature must be collected for every visit.
- Start time / End time: The window when this event can be booked.
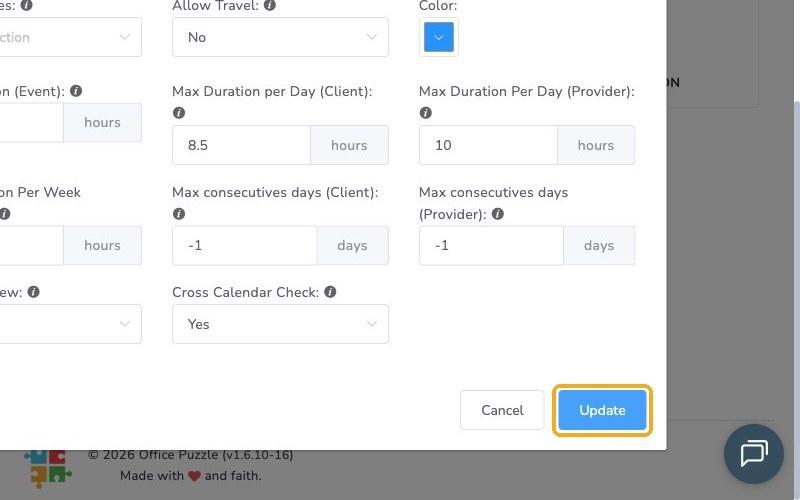
- Allow Travel: Turn on to track a provider's travel time or distance. Travel shows on the calendar between visits, and you can choose whether travel time is billable.
- Max Duration per Day (Client): Caps how many hours a client can receive services in one day, across all providers.
- Max Duration Per Day (Provider): Caps how many hours a user can provide services in one day, across all clients.
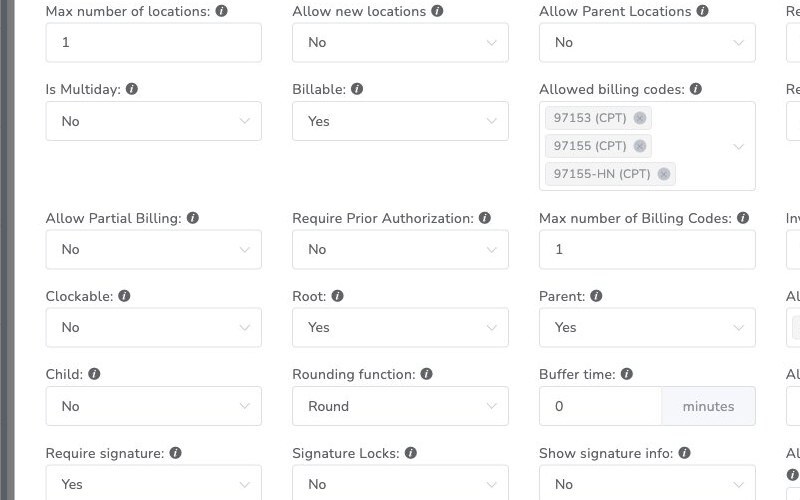
When you're finished, click Update to save.
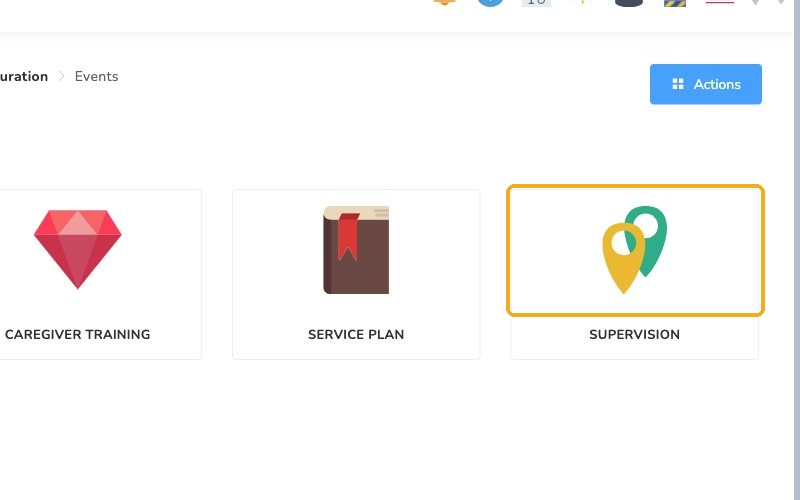
If you use other event types, like Supervision, review their settings the same way: click the event type, then the Configuration tab.
Check your credentials' billing codes
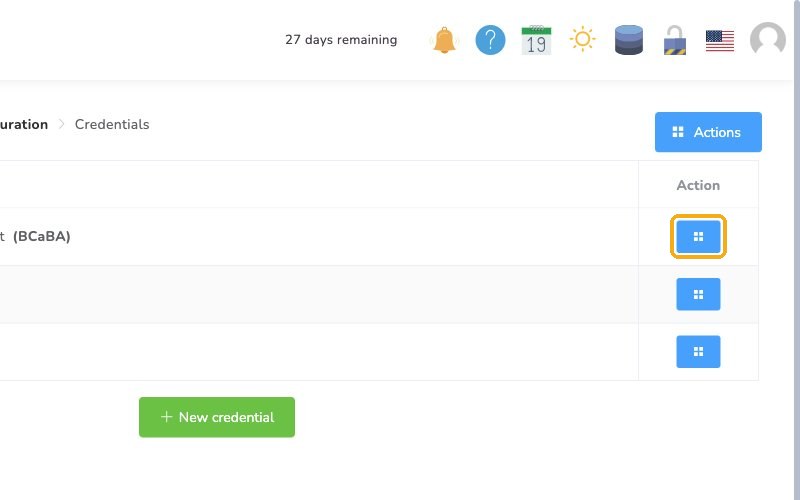
A credential can also limit which billing codes it can use. Go back to Configuration using the link at the top of the page, then click Credentials.
Click the Actions button on a credential that uses this event, then select Edit.
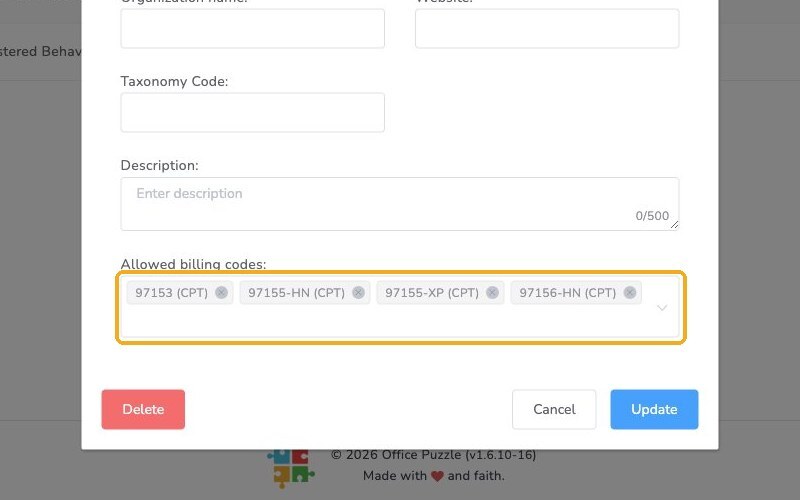
Look at Allowed billing codes:. If codes are listed, this credential can only use those codes, so add any you need. If none are listed, it can use any code.
Check it worked
- Only staff with an allowed credential can create an Appointment.
- Only the allowed billing codes appear when someone creates the visit.
- With Require Prior Authorization on, an RBT can't create a visit without an authorization.
Watch out for
- A billing code is missing when scheduling. Check three places: Allowed billing codes on the event type, Allowed billing codes: on the credential, and a rate on the payer's health plan.
- EVV changes the visit time. If a visit is scheduled 5:00 to 6:00 PM and the RBT clocks in at 5:15 and out at 6:15, the visit updates to 5:15 to 6:15 PM.
Every appointment your team schedules now follows your agency's rules: the right staff, the right codes, authorizations checked and visits verified.