
What you'll do
Fill in an Appointment Note and lock it. Locking tells everyone the documentation is complete, so billing can move forward.
Before you start
- Know which billing code the visit used. The note changes with the billing code.
- Have the visit's Appointment Note ready. Every visit creates one.
Video walkthrough
Step by step
Open the note
Open the visit's Appointment Note.
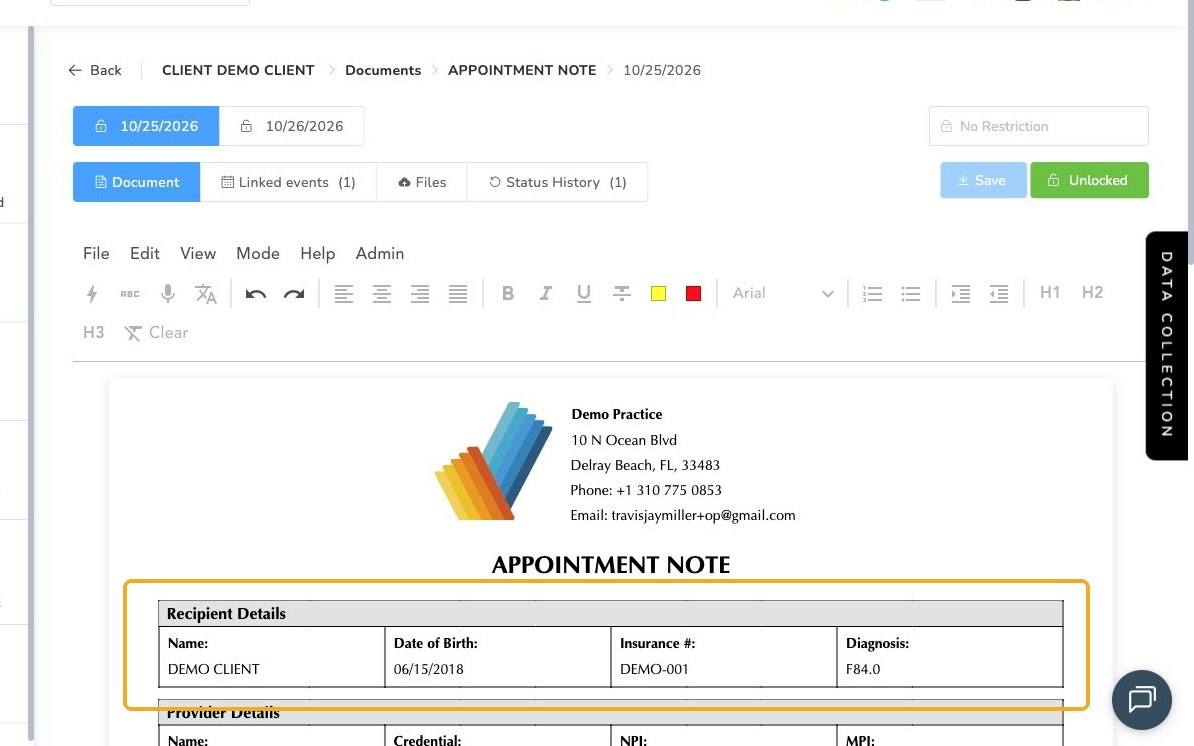
Review the top of the note. It pulls in information from the client's profile and their service plan.
Know what changes by billing code
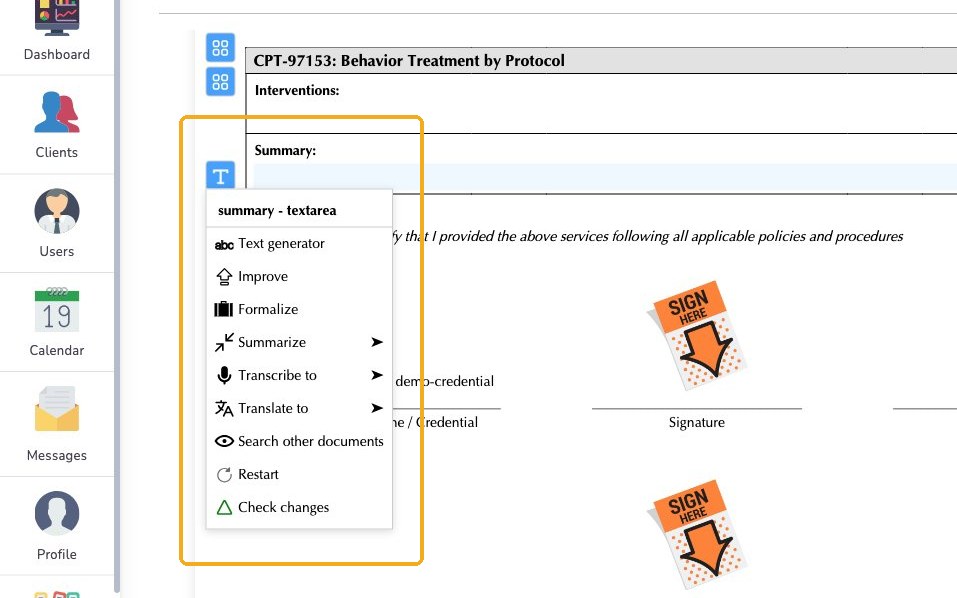
For billing code 97153, use the text tools to write a summary.
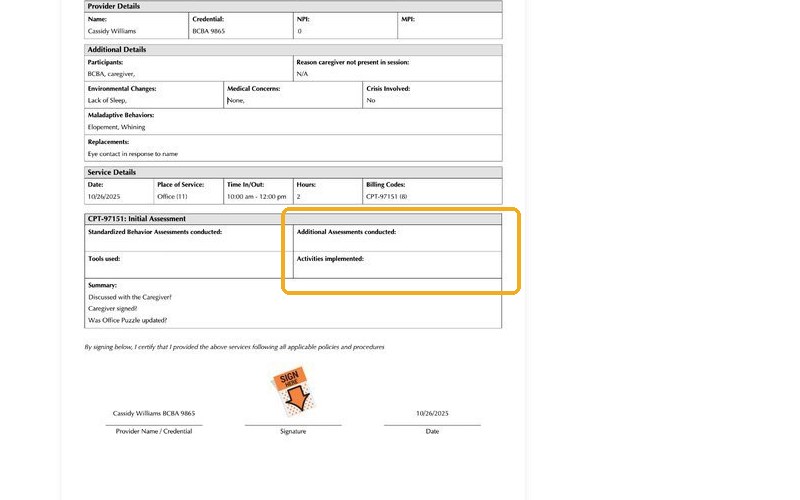
For 97151, use the drop-down lists along with the summary tools.
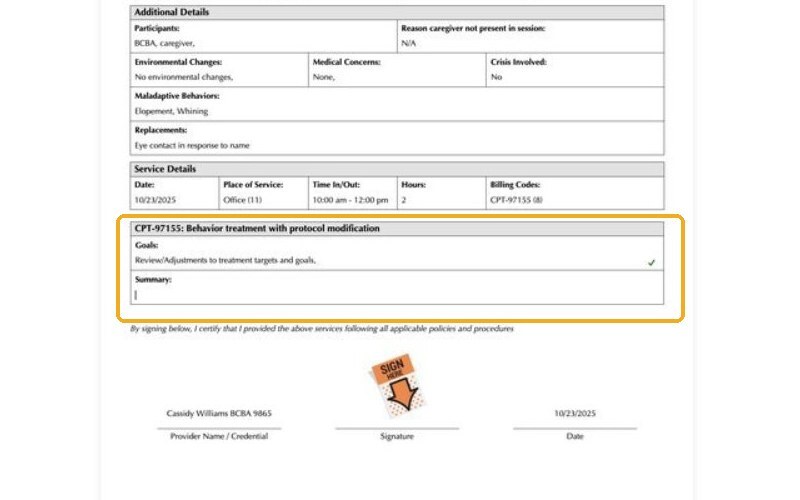
97155 and 97156 work the same way as 97151.
Write the summary
Click in the summary box, then click the blue T icon.
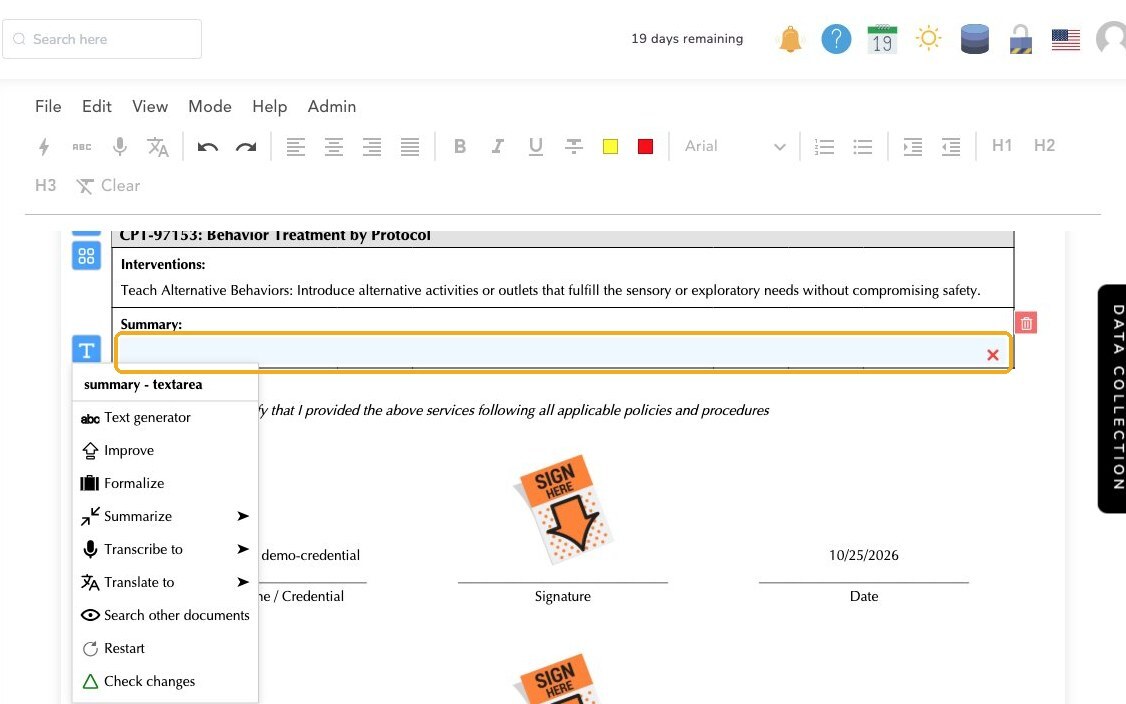
Choose Text Generator. Office Puzzle's in-house AI asks a few questions and helps you write a clear, professional summary.
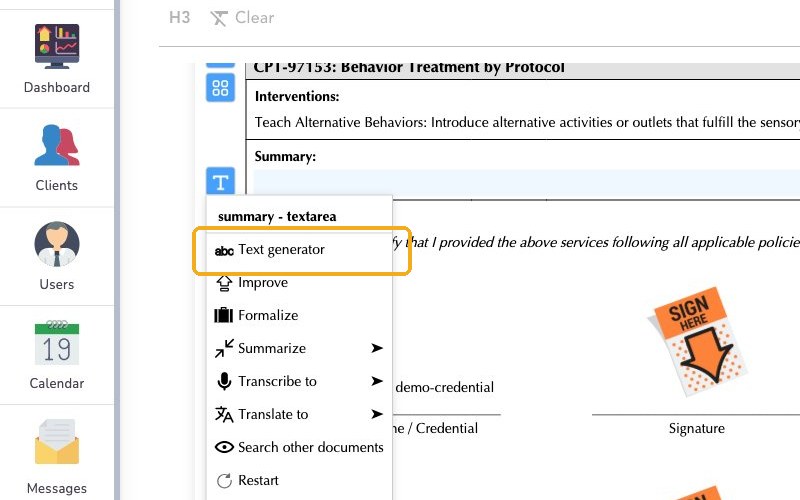
To work on text you've already written, use Improve, Formalize or Summarize.
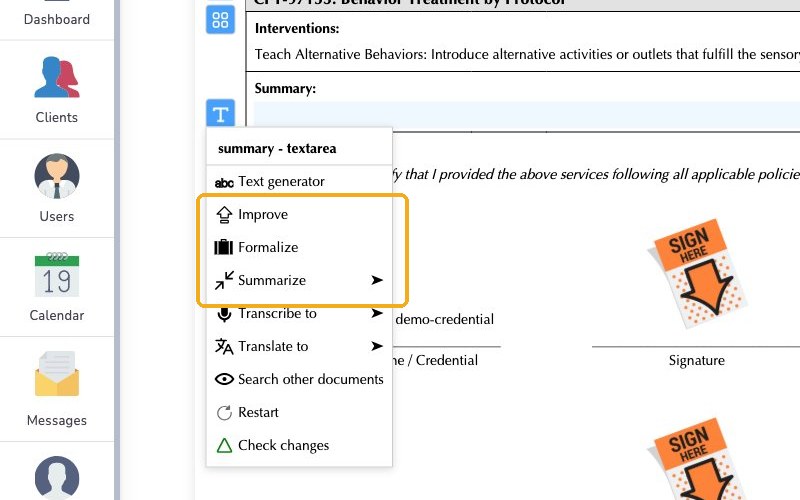
Use speech-to-text and translation if you need them. Both work in English and Spanish.
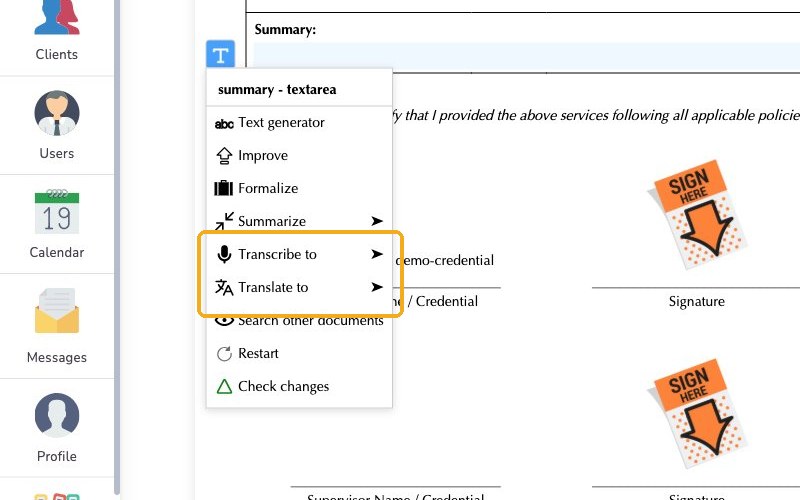
To open a previous note side by side, without closing this one, use the search for other documents option.
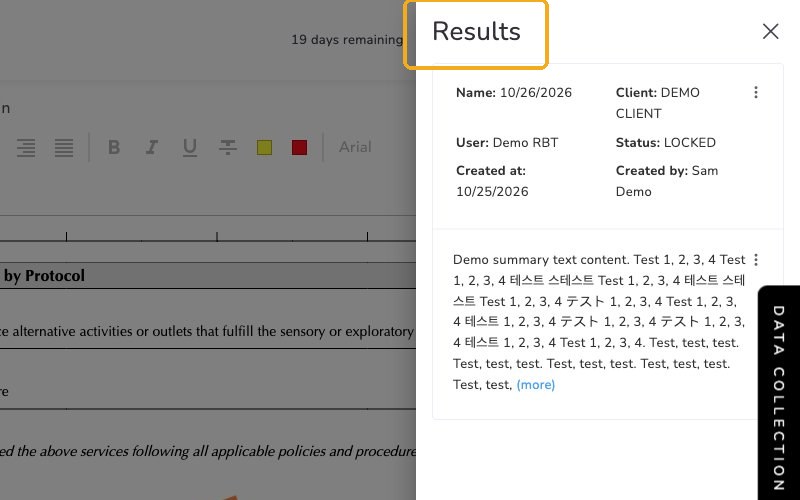
Sign, review and lock the note
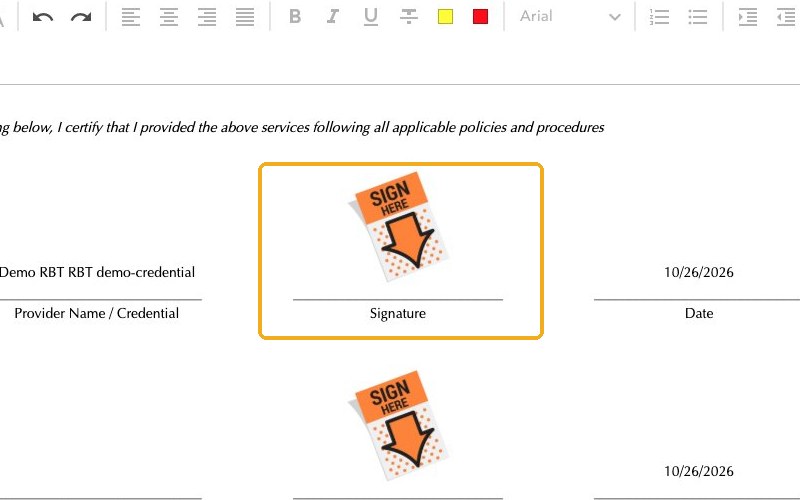
At the bottom of the note, click to add the right signatures.
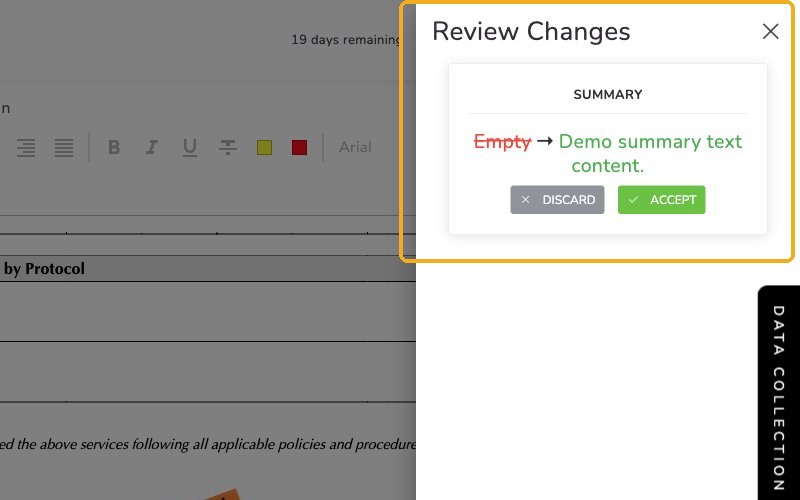
To review your revisions, select Check changes. A panel shows removed text in red and new text in green.
Click Unlocked and choose the note's new status: Ready for Review, Rejected, Reviewed or Locked.
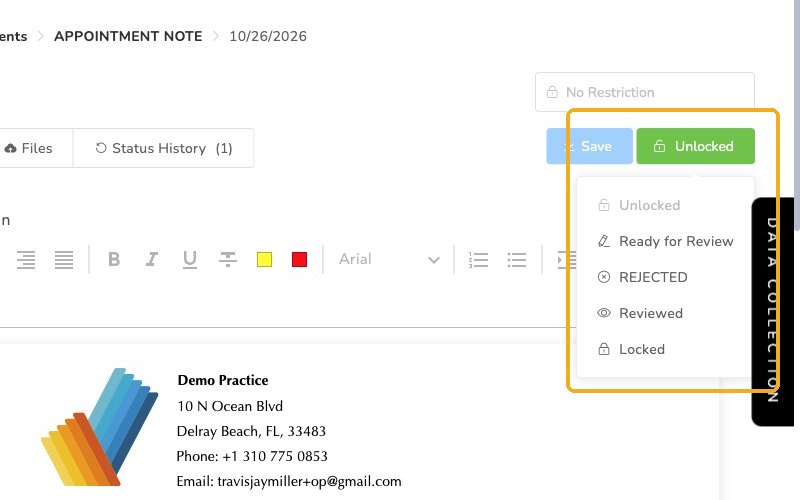
When the documentation is complete, choose Locked.
Locked is final
Once a note is Locked, no more changes can be made to the note or the visit.
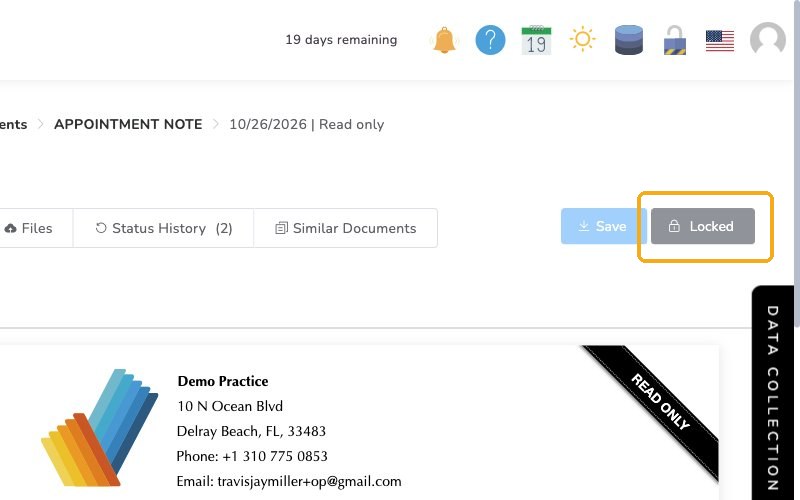
Check it worked
- The note's status shows Locked.
- Admins can now move on to billing.
Watch out for
- Locking too soon. Once a note is Locked, no more changes can be made to the note or the visit.
- Wrong tools for the code. The note changes with the billing code, so 97153 uses text tools and 97151 uses drop-down lists plus the summary tools.