
What you'll do
Create a batch claim from your documented and locked visits, check it for errors, track its status, and download it.
Before you start
- Have your visits documented and locked.
- Know the payer and health plan the claims are for.
- Know which clearing house you use, if any.
Video walkthrough
Step by step
Start a new batch
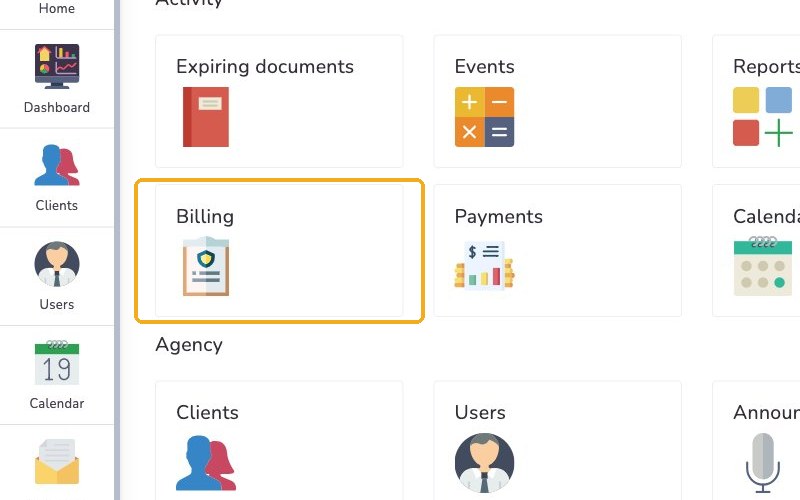
From your agency's dashboard, click Billing.
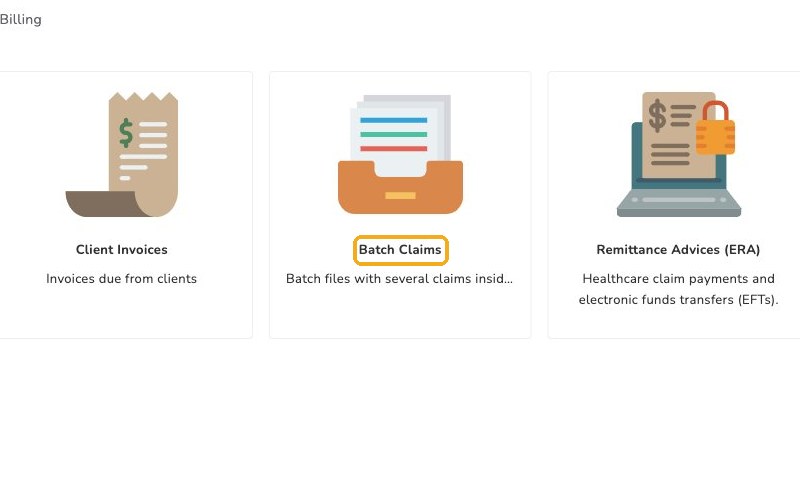
Select Batch Claims.
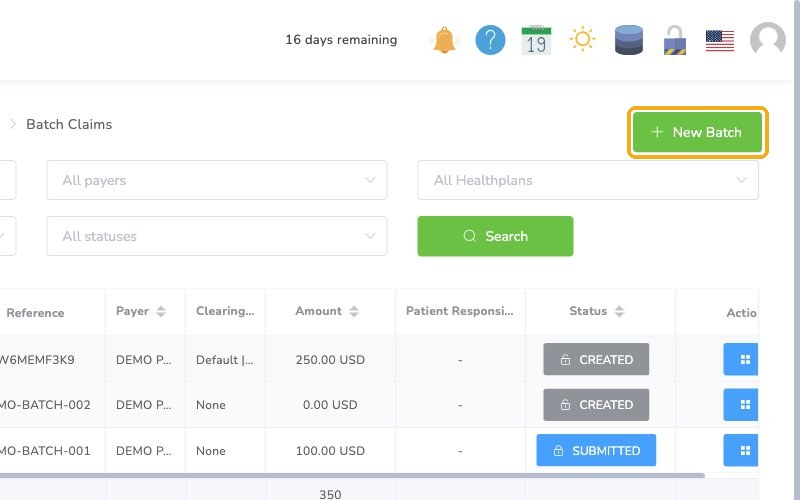
Click New Batch.
Choose the payer, then the health plan. If you use a clearing house, click the dropdown and select it.
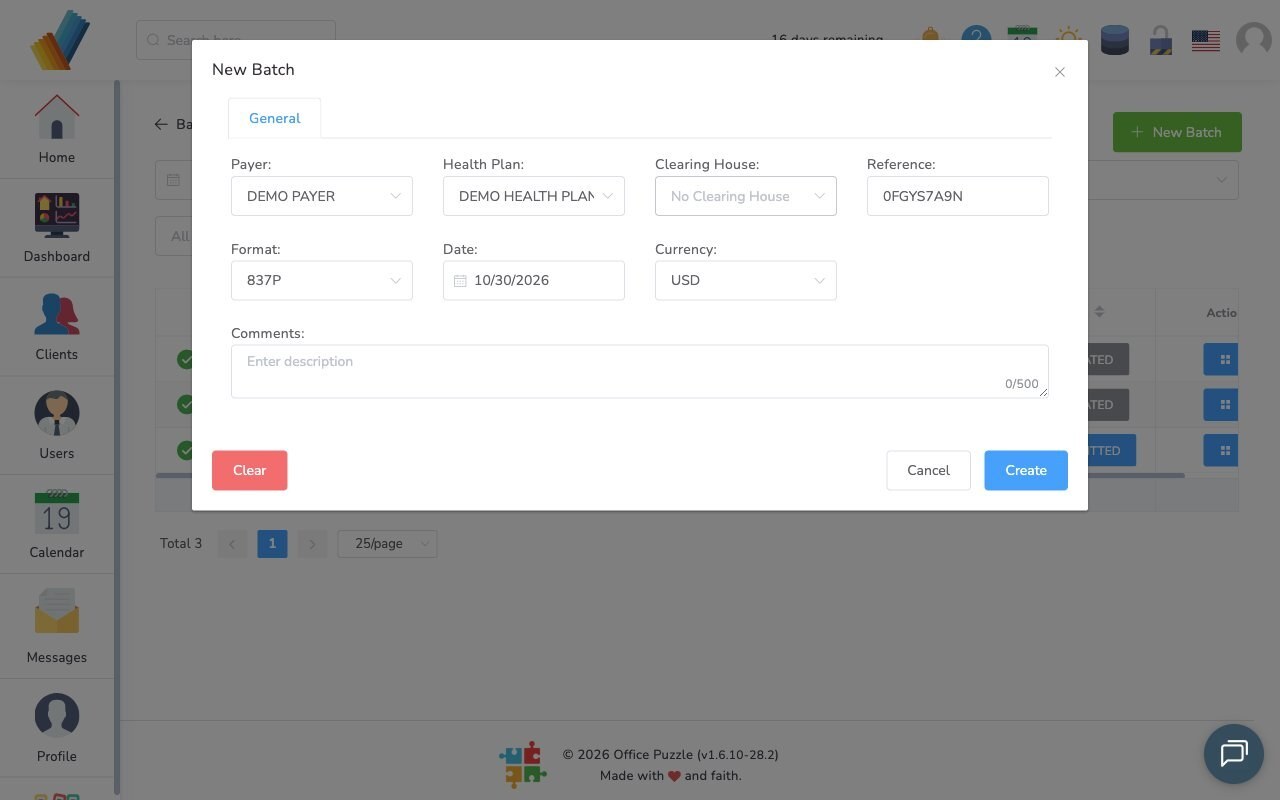
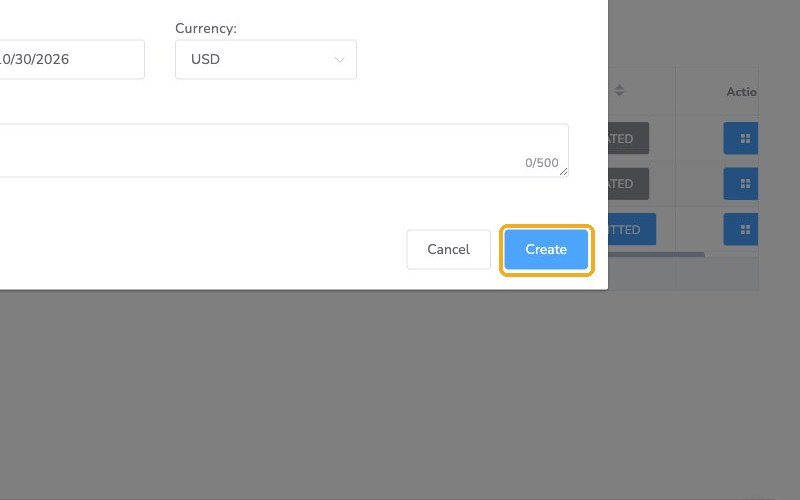
Check the details and click Create.
Choose the events to bill
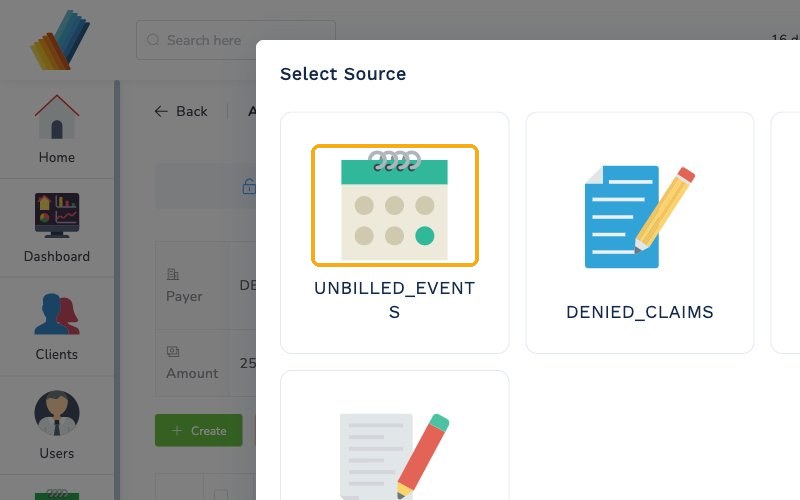
On the batch page, click Create, then choose Unbilled events.
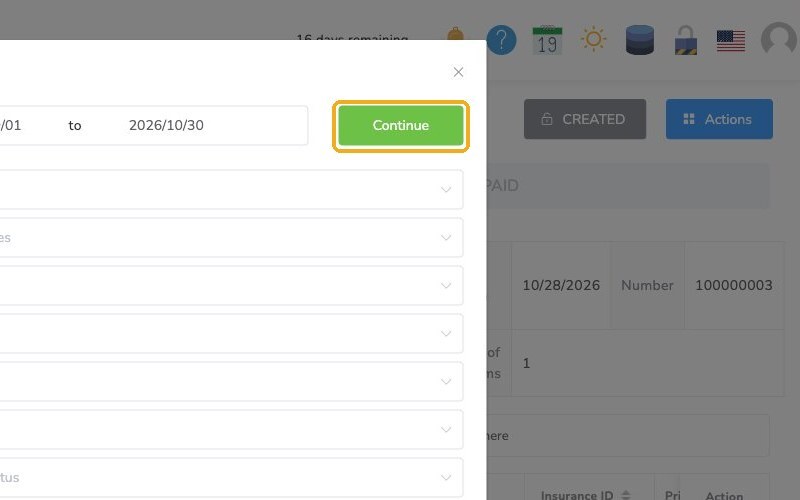
Set the date range for the events you want to bill, and click Continue.
Click the arrow to see each client's events.
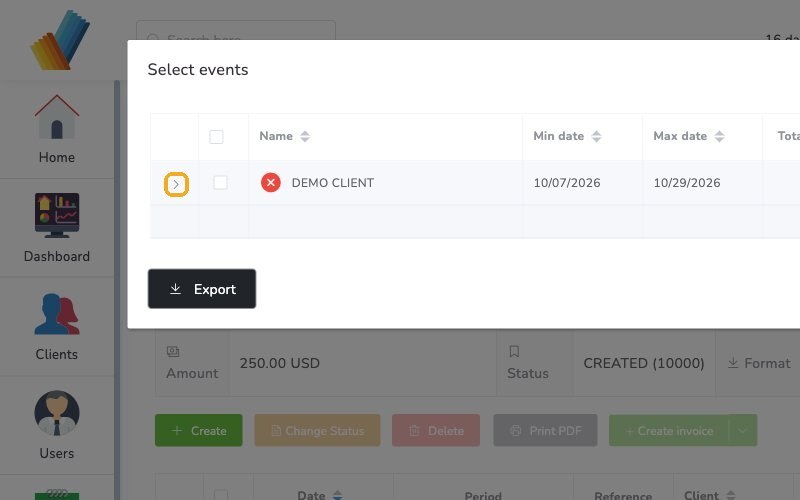
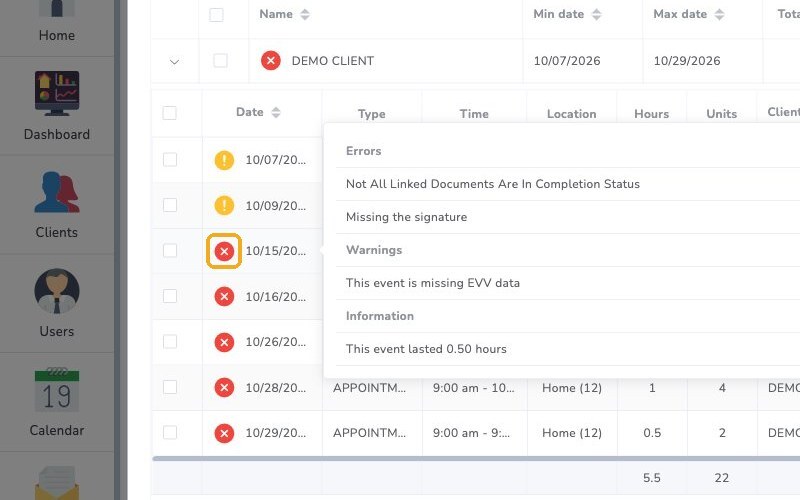
Hover over a red x to see what's wrong with an event. Each event is marked green, yellow for review, or red when more information is needed.
Fix errors before you submit
You can still create the claim with errors, but fix them before you submit it.
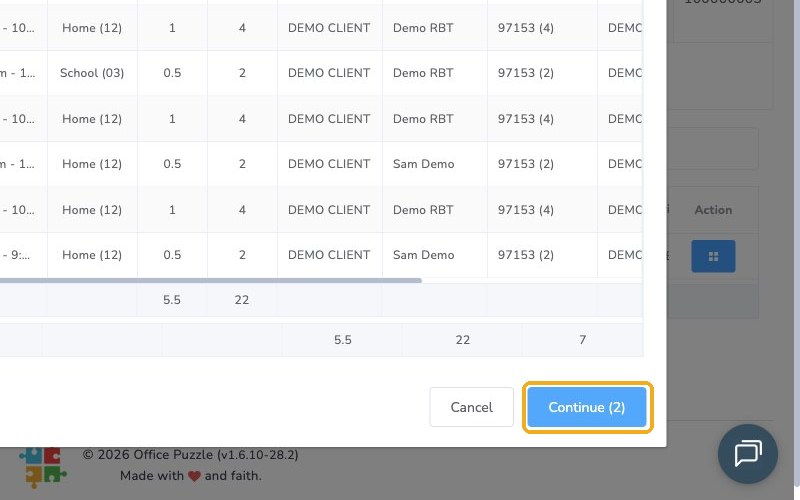
Select the events and click Continue.
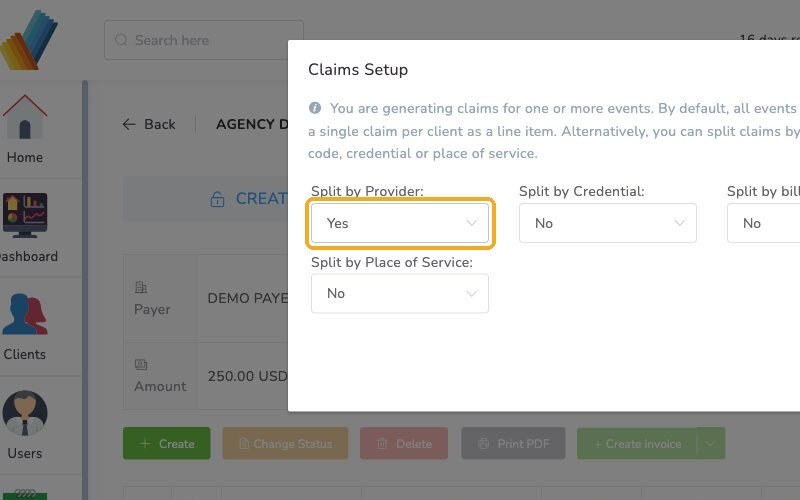
Set up and add the claims
In Claims Setup, choose how to file the claims. This lesson splits them by provider.
Hover over the checks or x's to see any errors, like a missing NPI. When everything looks right, select the claims.
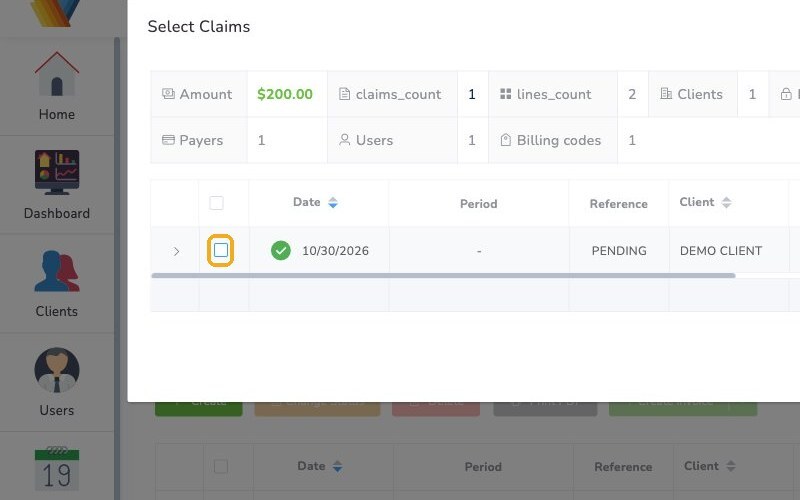
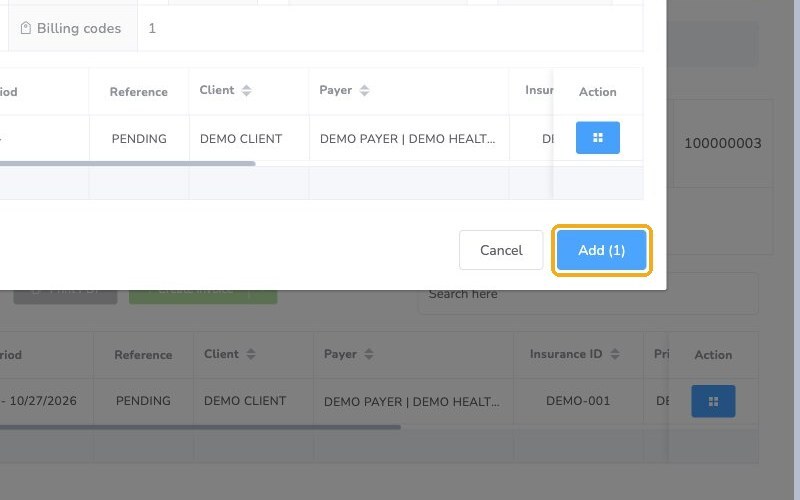
Click Add. Office Puzzle adds the claims to the batch.
Track and download the batch
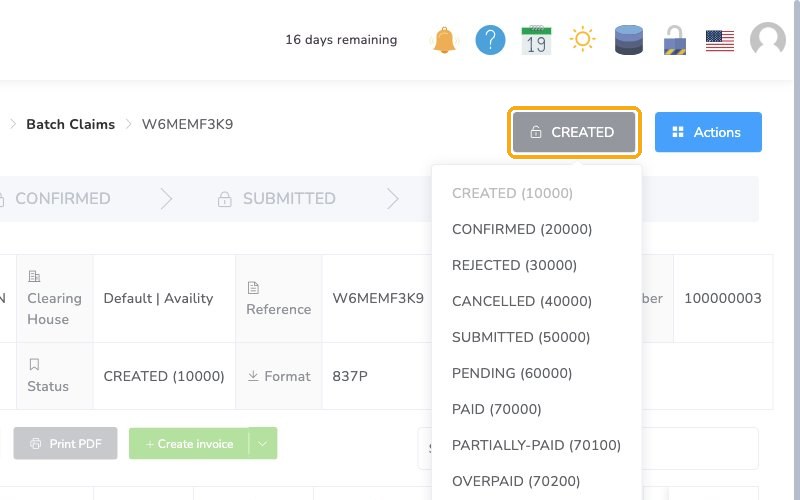
To track the batch as it moves along, click the status button, which starts as CREATED. Select CONFIRMED (20000), and record a reason if you like. Click Save.
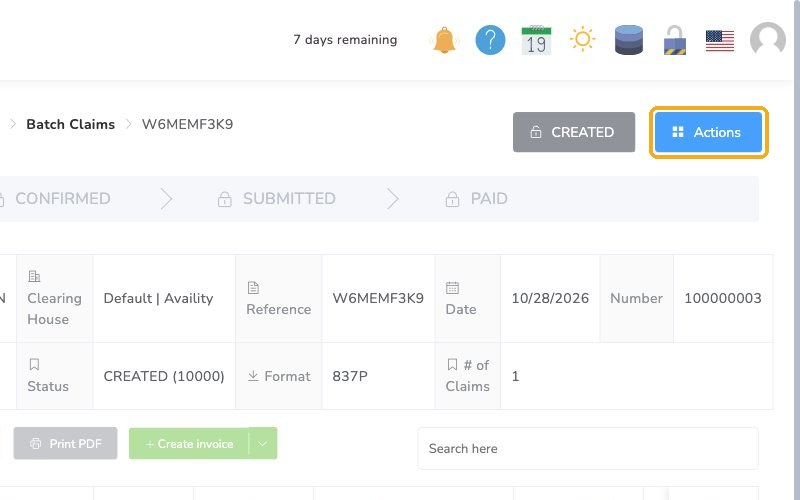
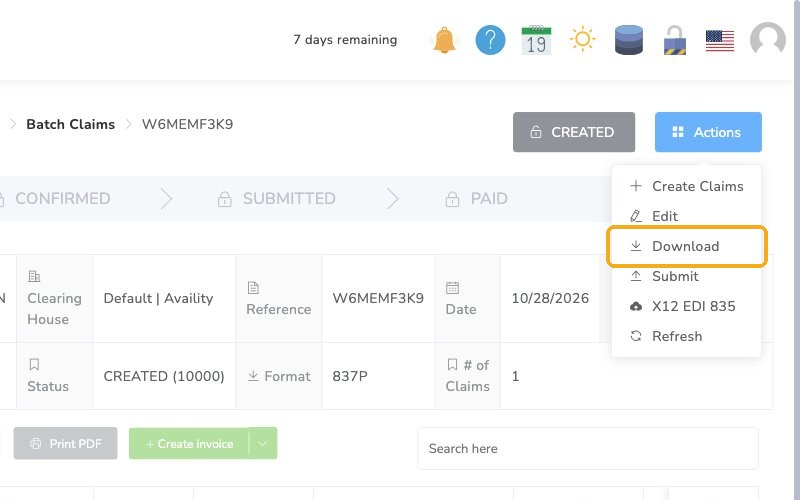
To download the batch, click Actions, then Download.
Select the format of the download from the menu.
Check it worked
- The new batch appears under Batch Claims with the claims you added.
- The batch status shows CONFIRMED.
Watch out for
- Errors left in place. You can still create the claim, but fix any errors before you submit it.
- Missing details. A red x on a claim can mean something like a missing NPI. Hover over it to see what's wrong.