
What you'll do
Build provider invoices that track what your agency owes each staff member for their sessions, keep their payment records up to date, and see where staff find their own invoices.
Before you start
- Have your staff's sessions documented in Office Puzzle.
Video walkthrough
Step by step
Open Provider Invoices
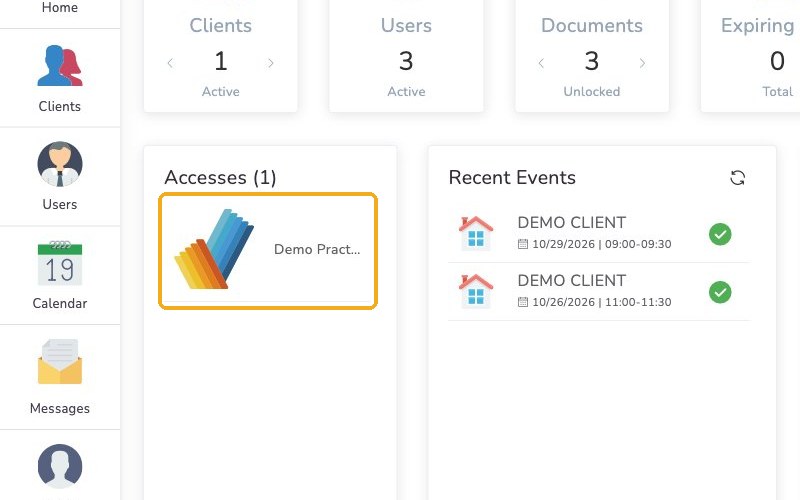
From your Home page, under Accesses, click your agency's name to open your Agency Dashboard.
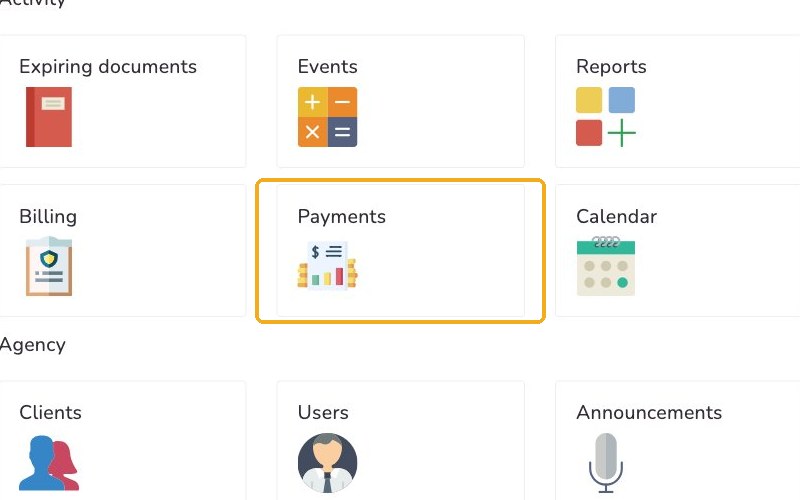
Go to Payments.
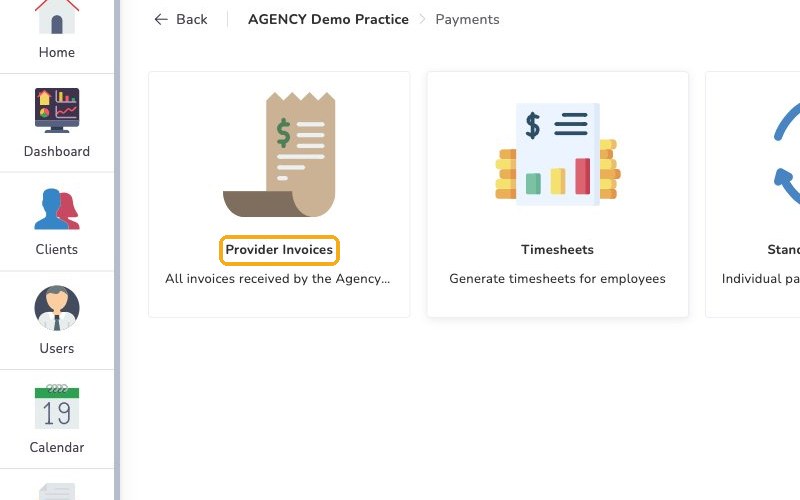
Click Provider Invoices.
Build the invoices
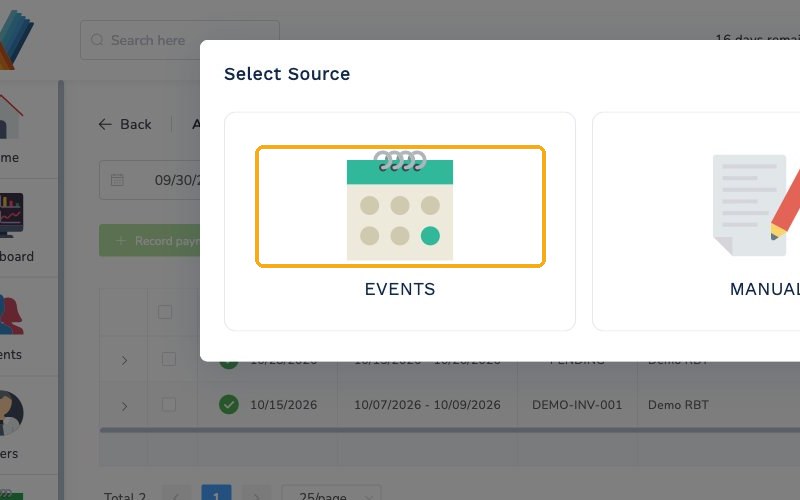
Click New invoice and choose Events.
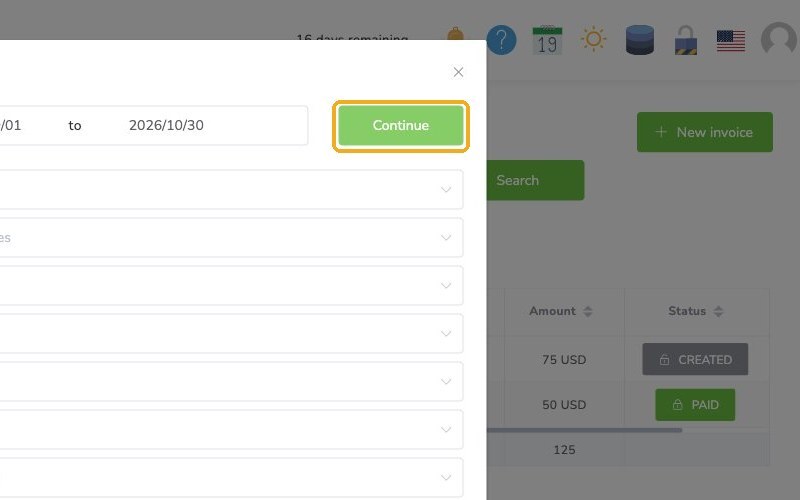
Set the date range and click Continue.
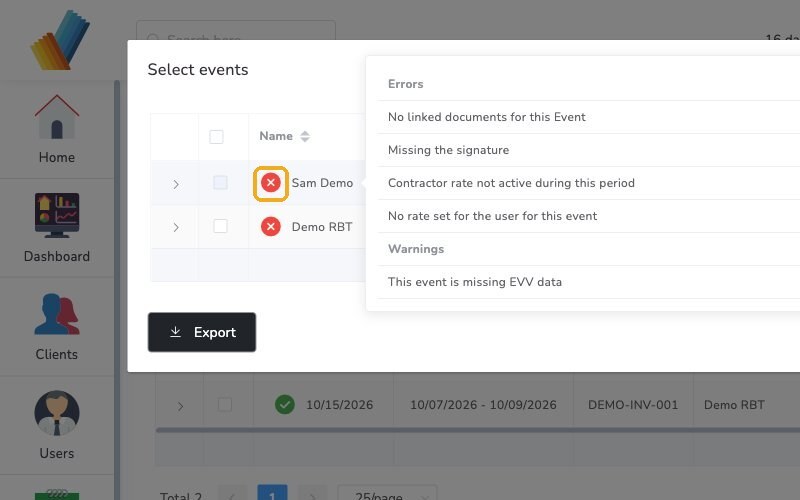
Select the users to include. Hover over a red x or green check to see if their events have any issues.
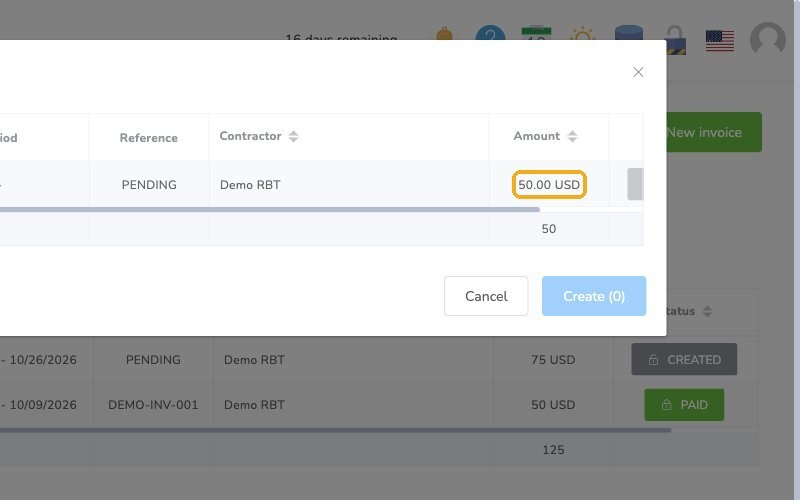
Choose how to set up the invoice. This page shows the amount for each user, and the arrow shows each event.
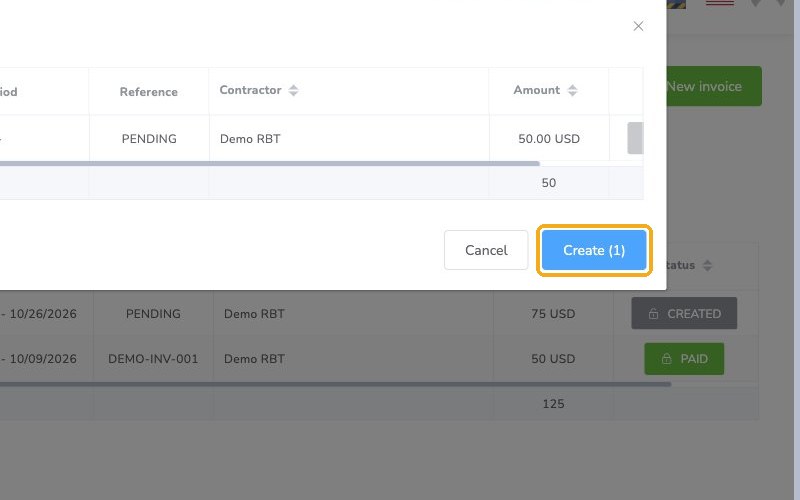
Click Create. Each invoice is now created.
Record a payment
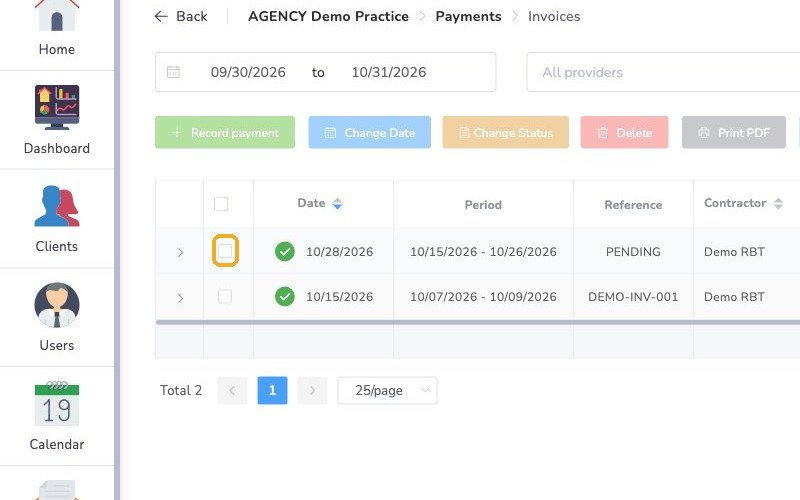
After you pay a staff member outside Office Puzzle, log it here. First, select the invoice.
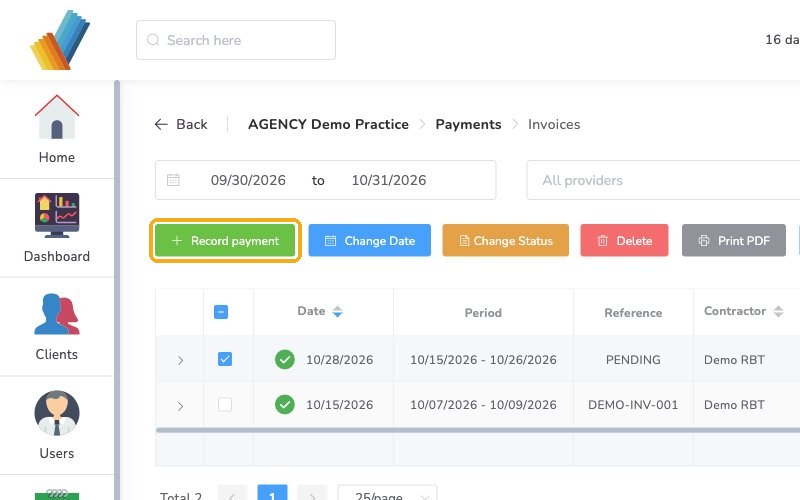
Choose Record payment.
Record-keeping only
Office Puzzle doesn't send or transfer money. This step just keeps your records up to date.
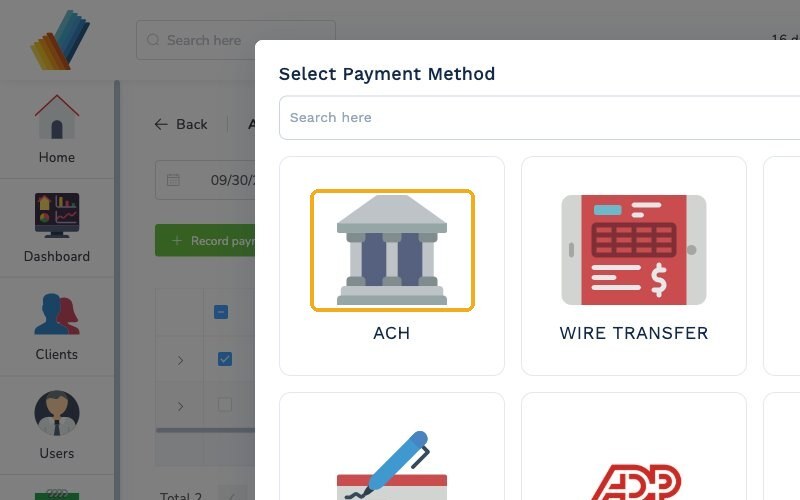
Choose the payment source and create the record. The invoice is now marked as settled.
Edit and update an invoice
Use the blue Action button to edit, print or delete an invoice.
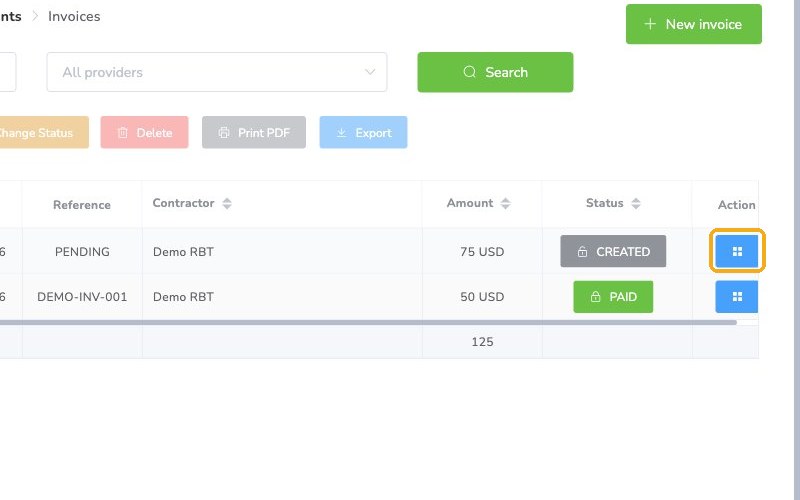
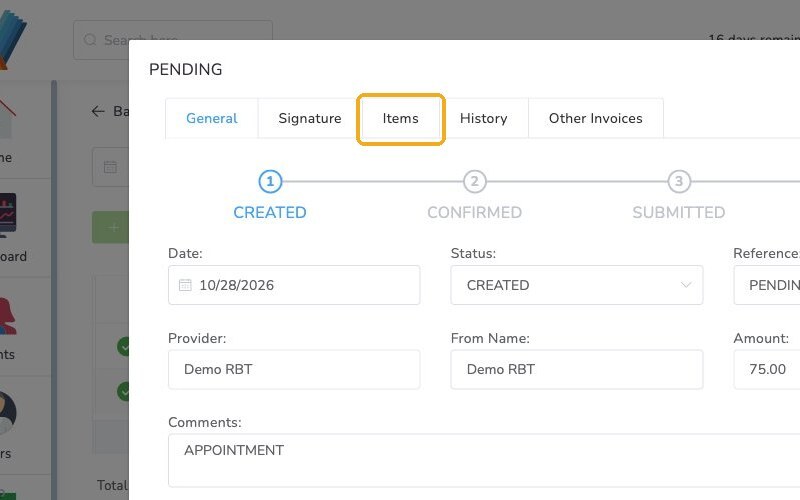
When editing, you can see the item list or add the user's signature to approve it.
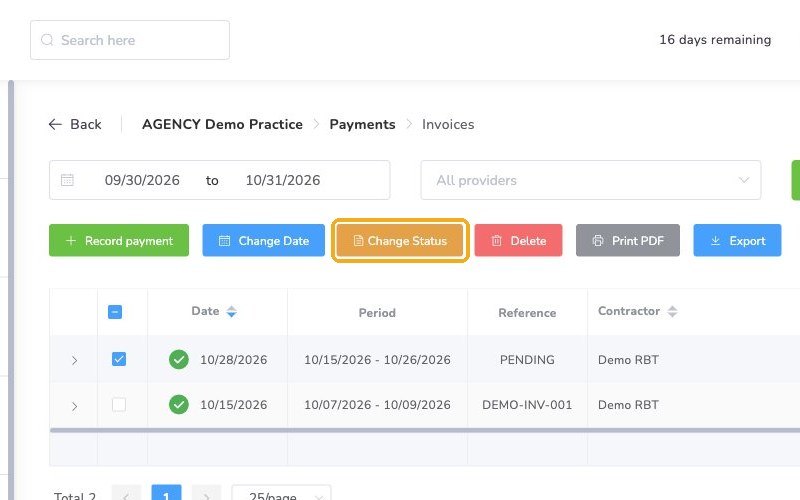
Use the Change Status button to update the invoice status as payments are made.
Where staff see their invoices
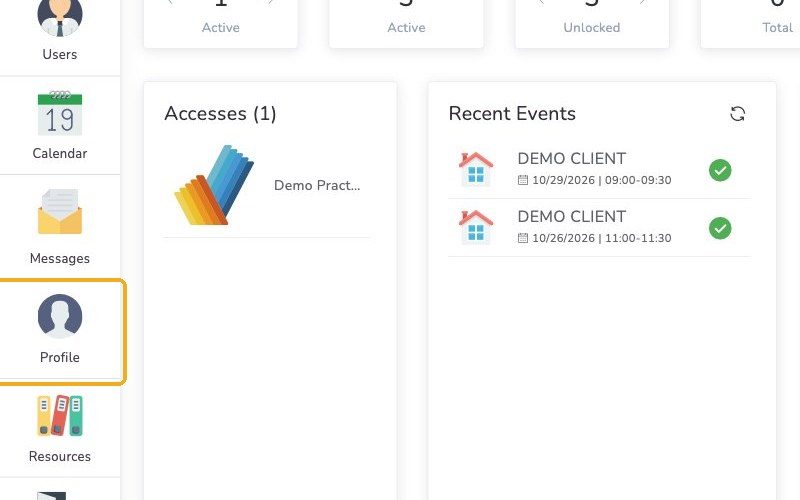
Staff can see their invoices any time on their Profile page. They just click the Invoices button.
Check it worked
- Each selected user has an invoice under Provider Invoices.
- An invoice you recorded a payment for shows as settled.
Watch out for
- Recording a payment doesn't pay anyone. Office Puzzle doesn't send or transfer money. Pay staff outside Office Puzzle, then log it.
- Issues on events. Hover over a red x or green check next to a user to see if their events have any issues before you continue.