Create invoices in the Agency’s Payments section
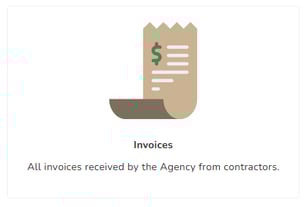
Invoices
Step 1: Navigate to the Agency Dashboard and access the Payments shortcut.

Step 2: Click on the “Invoices” box.
Step 3: Initiate a new invoice by clicking on “+New Invoice.”

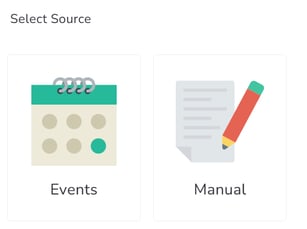
Step 4: Choose the source of the invoice: Events, or Manual.
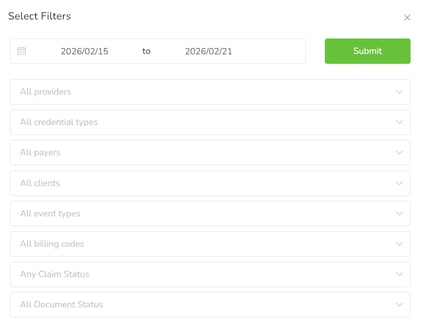
Step 5: If Events is selected, specify the date range and click “Submit.” Optional filters such as Providers, Credential Types, Payers, Clients, Event Types, Billing Codes, Claim Status, and Document Status can be applied.
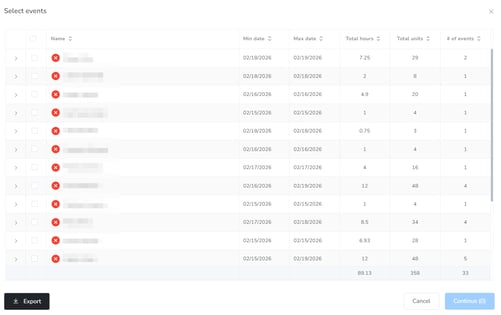
Step 6: Select the events to be included in the invoice and proceed by clicking “Continue.” This step also allows you to check for any errors in the selected events.
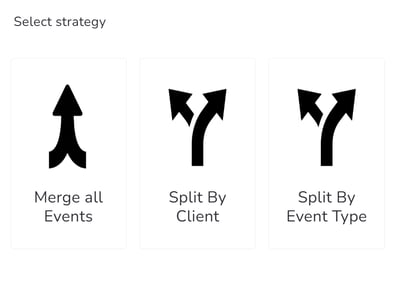
Step 7: Opt for a strategy to organize the invoice: Merge all Events, Split by Provider, or Split by Event Type.
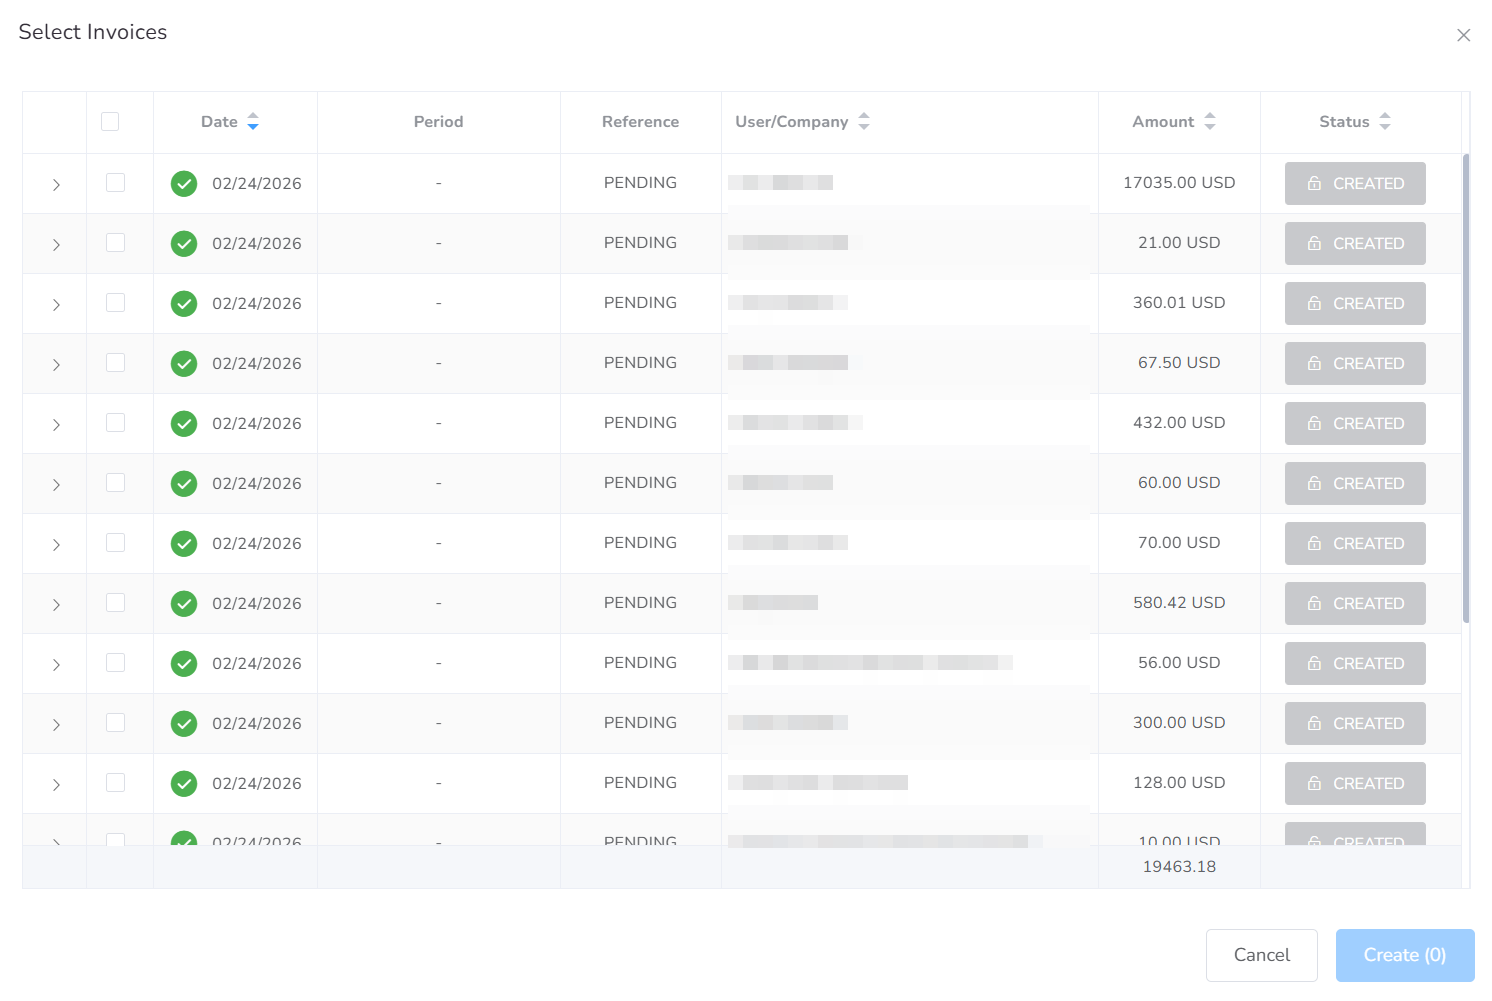
Step 8: Choose the specific invoices you want to create.
Step 9: Finalize the process by clicking “Create.”