
What you'll do
Set up the payers you bill and what each health plan pays for every service. Office Puzzle uses this to create insurance claims directly from completed sessions.
Before you start
- Have the payer's External ID on hand.
- Know which clearing houses you submit claims through, if any.
- Have each health plan's contracted rate for every billing code you'll use.
Video walkthrough
Step by step
Part 1: Billing codes and clearing houses
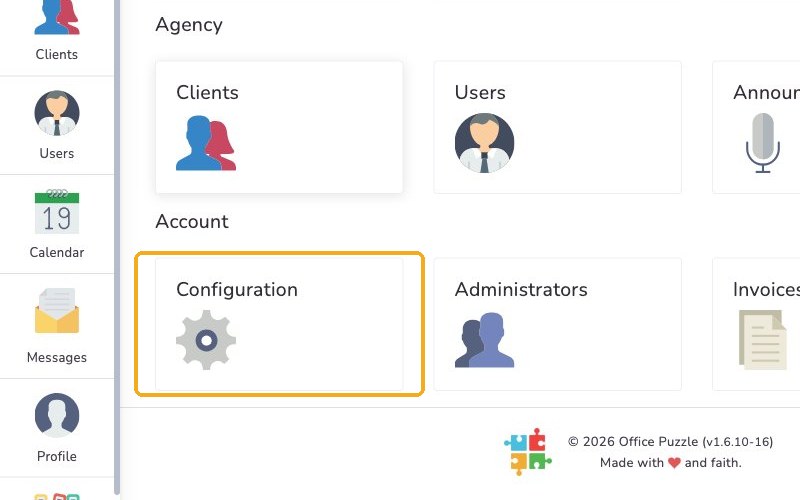
From your Home page, under Accesses, click your agency's name to open your Agency Dashboard. Scroll down and click Configuration.
Click Billing and Payers, then Billing Codes.
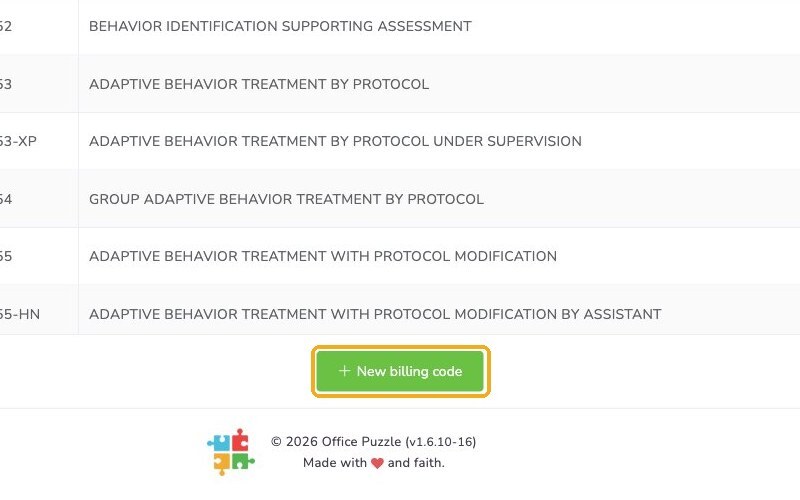
Review the list. These are the codes your agency is approved to use, and some come pre-loaded. If any are missing, click New billing code to add them.
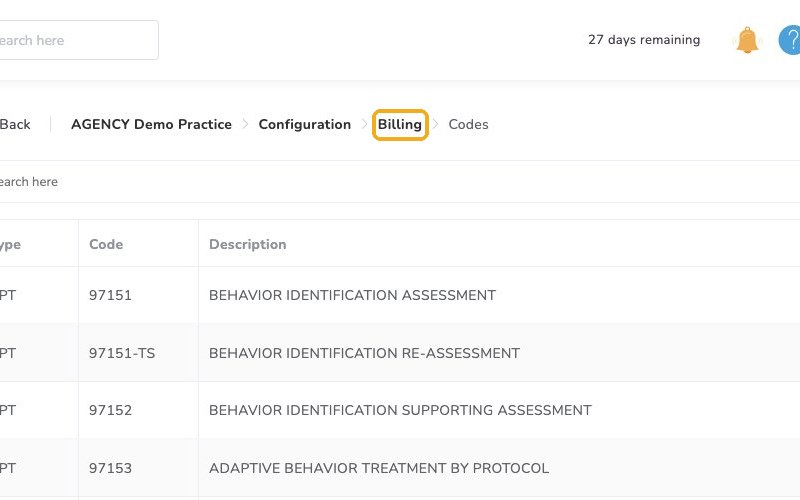
Click Billing in the link at the top of the page to go back. You'll use this link to move between Billing pages.
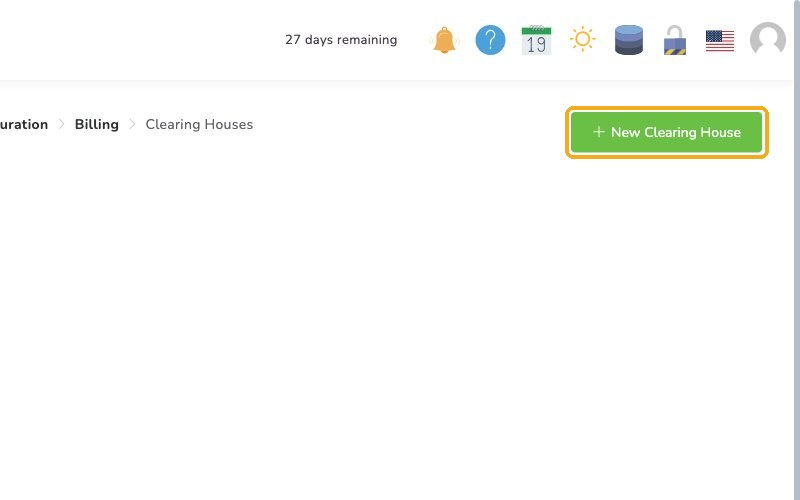
If you submit claims through a clearing house, click Clearing Houses, then New Clearing house, and select the clearing houses you plan to use.
Part 2: Add the payer
Go back to Billing settings by clicking the link at the top of the page, then click Payers.
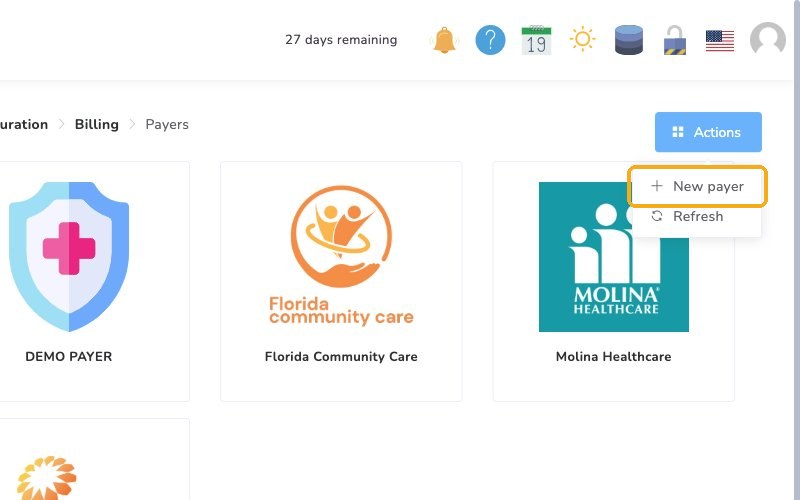
If your payer is not listed by default, in the upper right corner, click Actions, then select New Payer. You can find and add the insurance payer from the Office Puzzle catalog or Florida Medicaid, or add it manually.
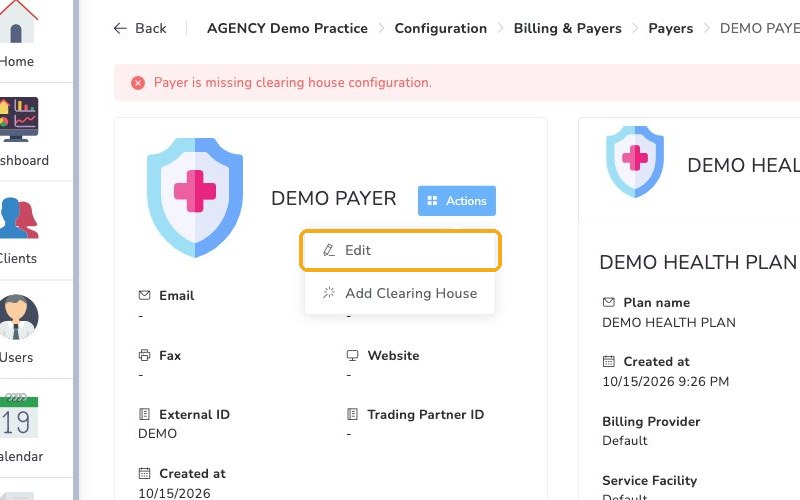
Click the payer to open its settings. Click the small Actions button next to the payer's name, then Edit.
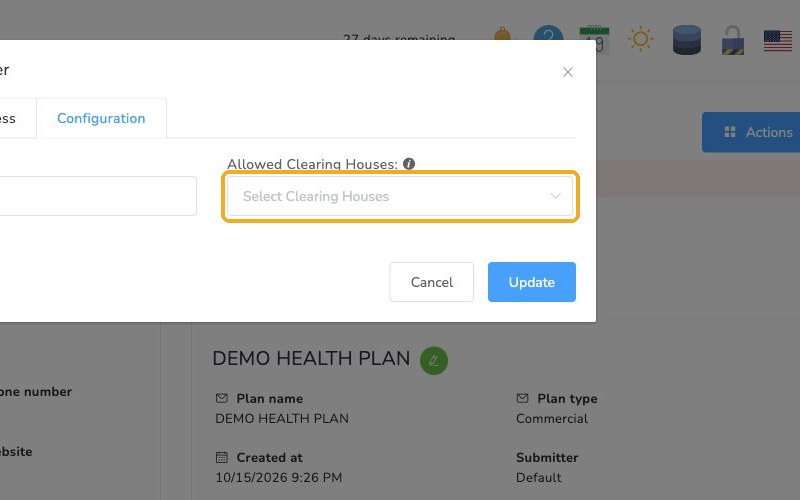
On the Configuration tab, enter the payer's External ID and choose the Allowed Clearing Houses you'll use with this payer. Click Update to save.
Part 3: Health plan and rates
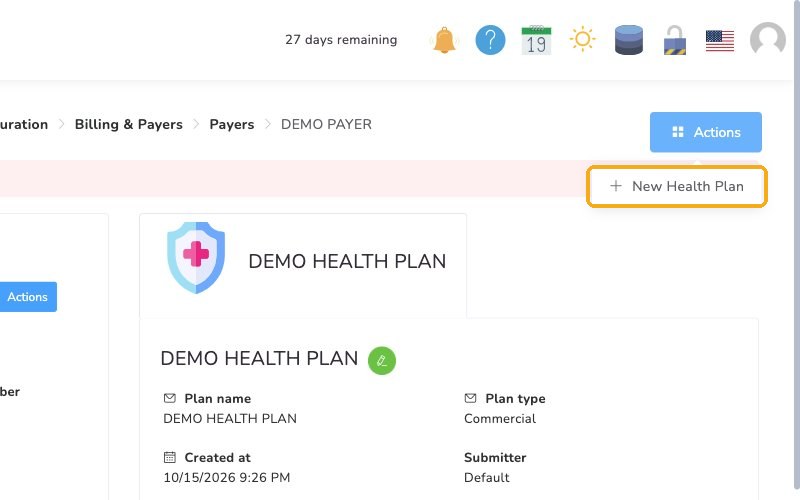
On the same payer page, click the large Actions button, then New Health Plan. Each payer can have more than one health plan, and each plan has its own rates.
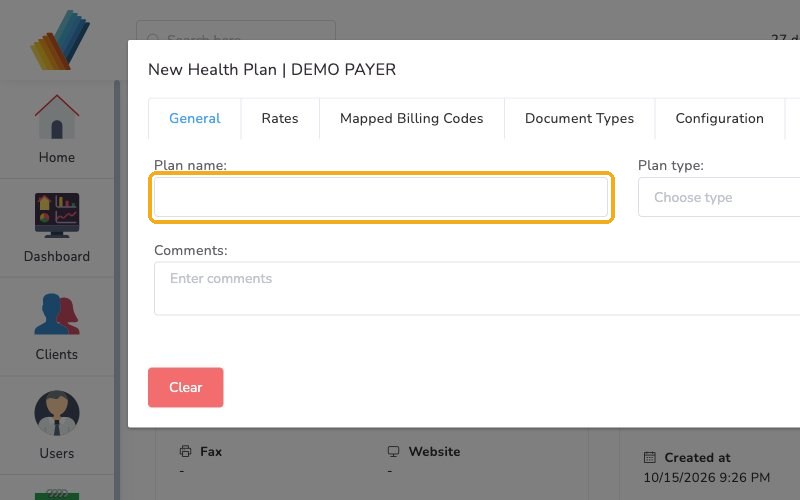
On the General tab, enter the Plan name and select the Plan type.
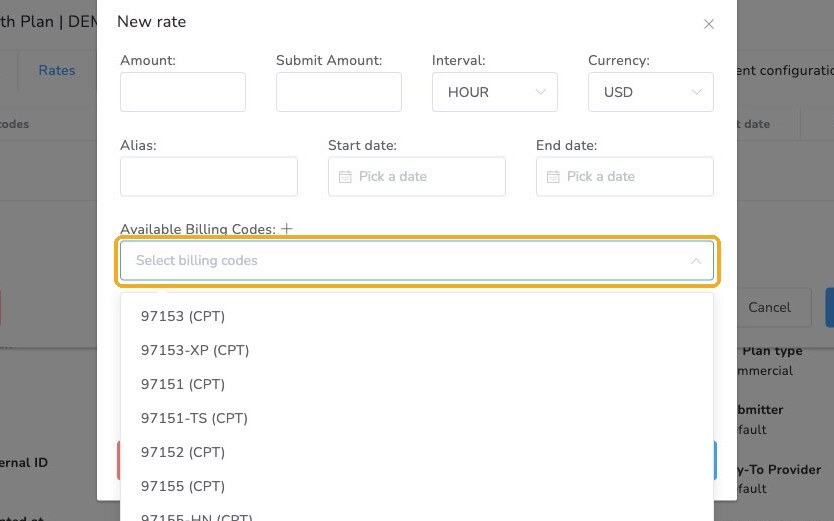
On the Rates tab, click add new Rate. Choose a code from the Available billing codes dropdown and enter its Amount. Repeat for every code you'll use with this plan.
A code without a rate can't be scheduled
If a billing code doesn't have a rate, it won't appear as an option when your team schedules a session.
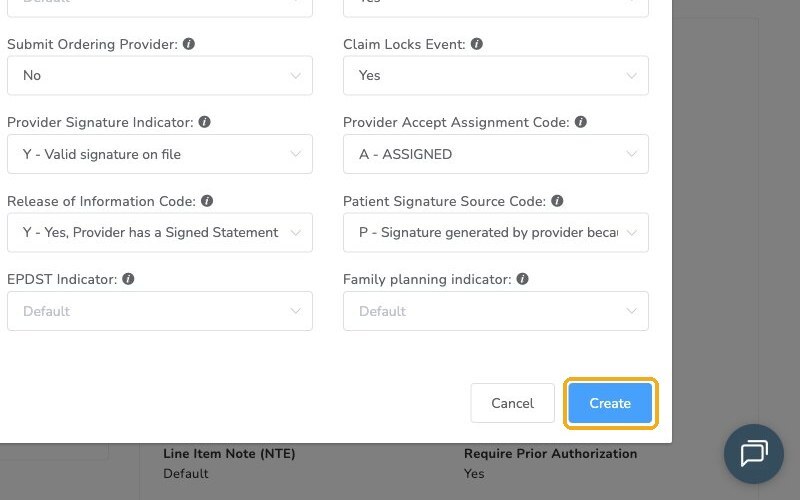
On the Configuration tab, review the coverage and billing settings. They control how this plan behaves in the system. When everything is set, click Create.
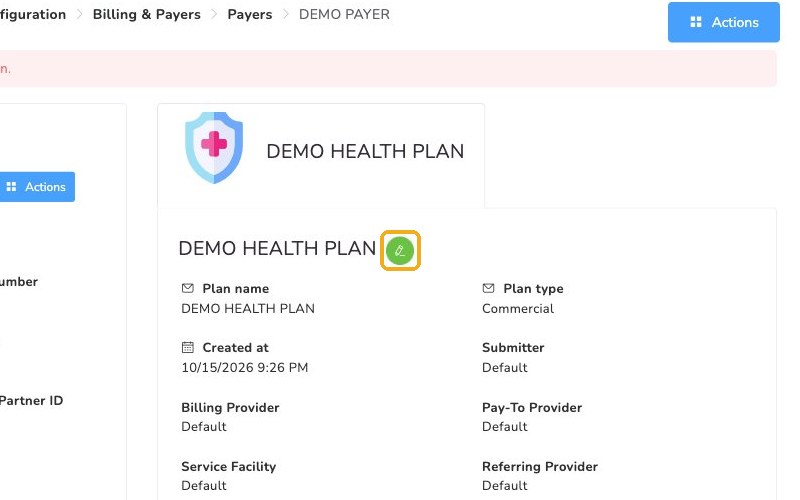
To change a health plan later, click the green pencil next to its name.
Check it worked
- Your billing codes are listed under Billing Codes.
- The payer appears under Payers, with its External ID and Allowed Clearing Houses set.
- The payer page shows the health plan, with a rate for every code you'll use.
Watch out for
- Codes without a rate. If a code is missing when your team schedules a session, check that it has a rate on the health plan.
- Order. Set up clearing houses before the payer. The payer's Configuration tab asks you to choose them.
Office Puzzle now knows who you bill, how claims reach them, and what each plan pays for every code.