
What you'll do
Schedule a visit on the calendar and see how the settings you chose earlier show up when you book it.
Before you start
- Know which client and provider the visit is for.
- Have the client's authorization ready if you require prior authorization.
Video walkthrough
Step by step
Start the event
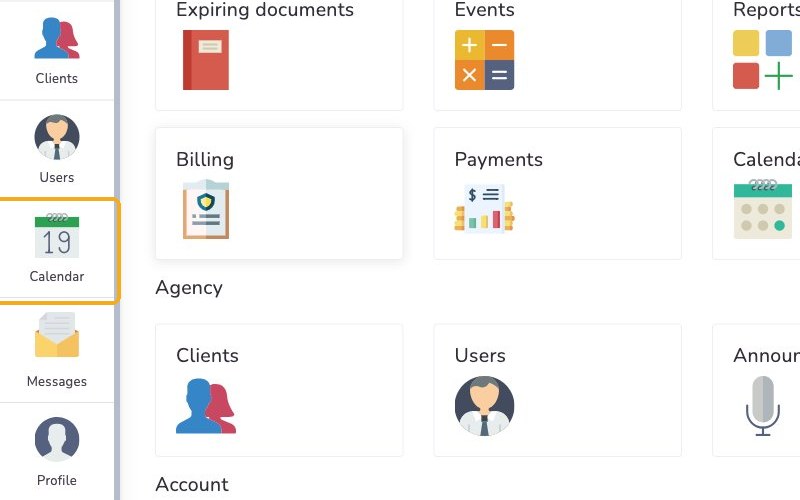
On the left menu, click Calendar.
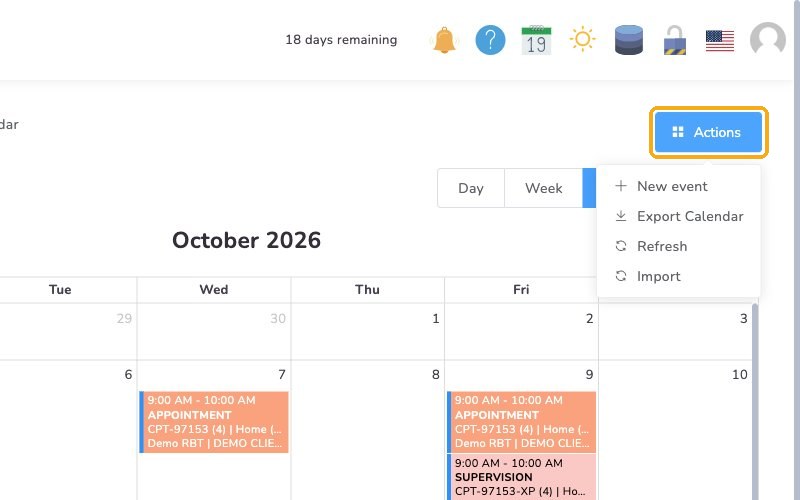
Click Actions, then select New event. You can also create an event by clicking on the calendar.
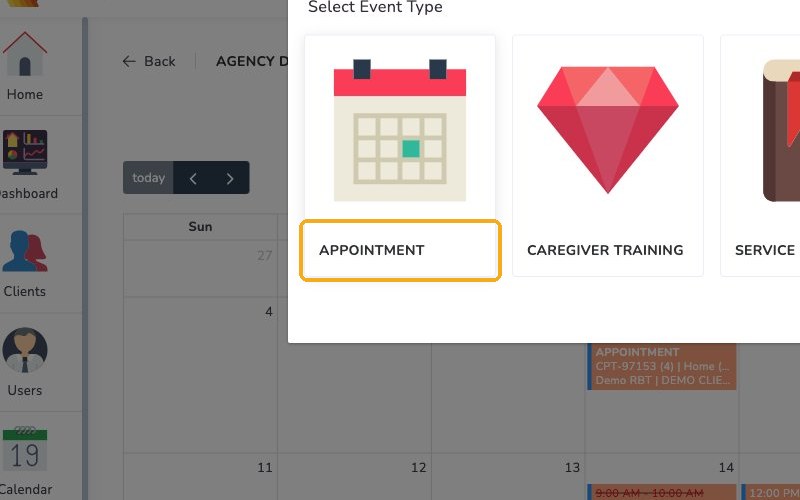
You'll see the event types available for your agency. Choose APPOINTMENT.
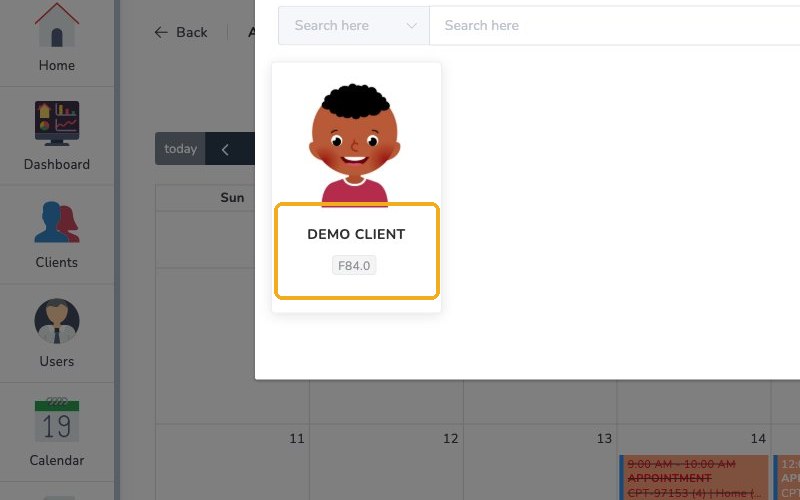
Choose the client, then the provider. As an admin you'll see everyone. If you start from a client's or provider's calendar, that choice is already made.
Fill in the visit
Fill in the event details. The client's addresses, like home and school, come from their profile.
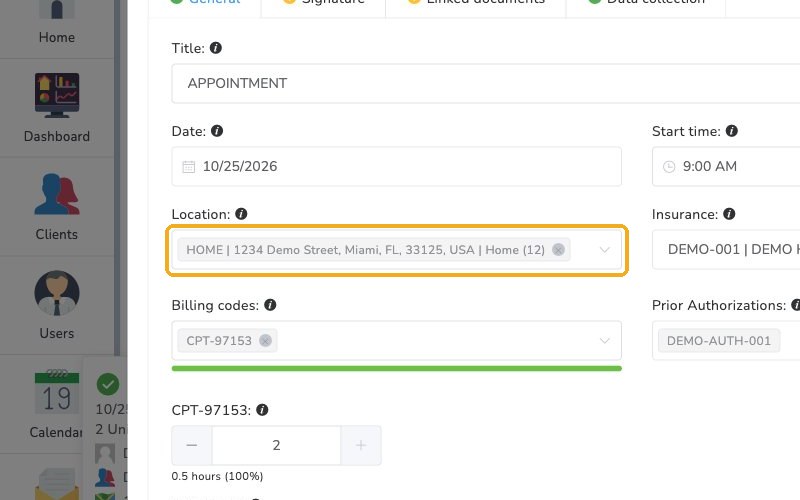
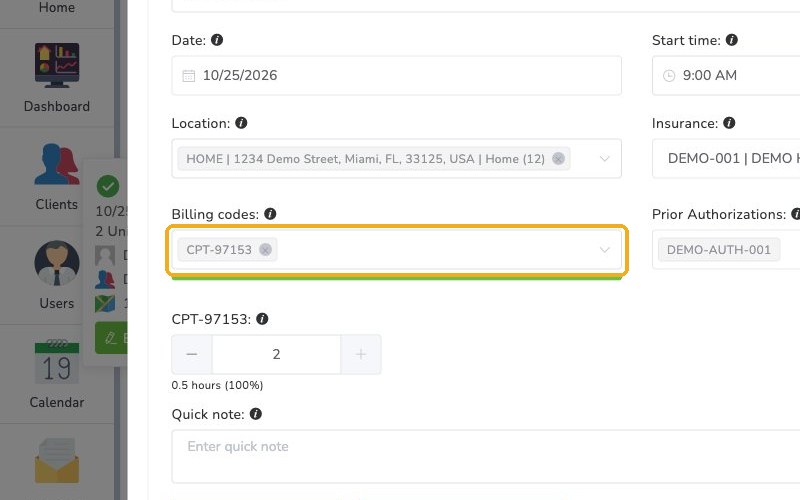
Choose a time and billing code. The billing codes you allowed for this event appear here, and the units fill in automatically.
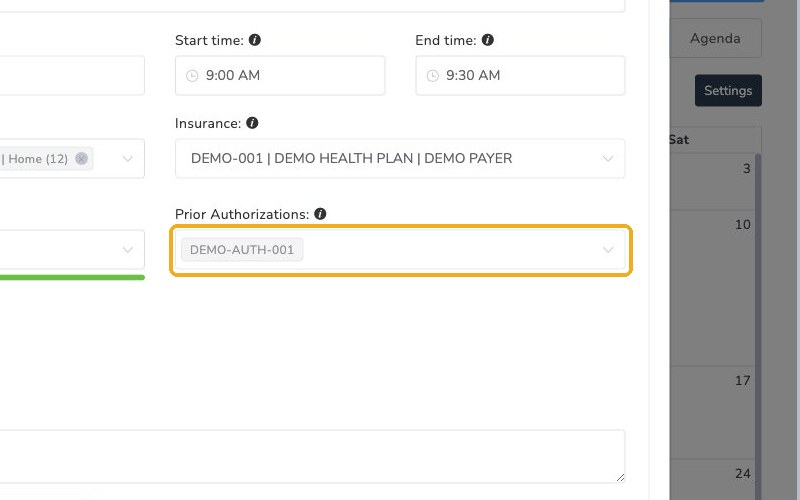
Choose the client's authorization in the prior authorization field.
Required with Require Prior Authorization
Because you turned on Require Prior Authorization, you can't save the visit without one. Its units are deducted automatically.
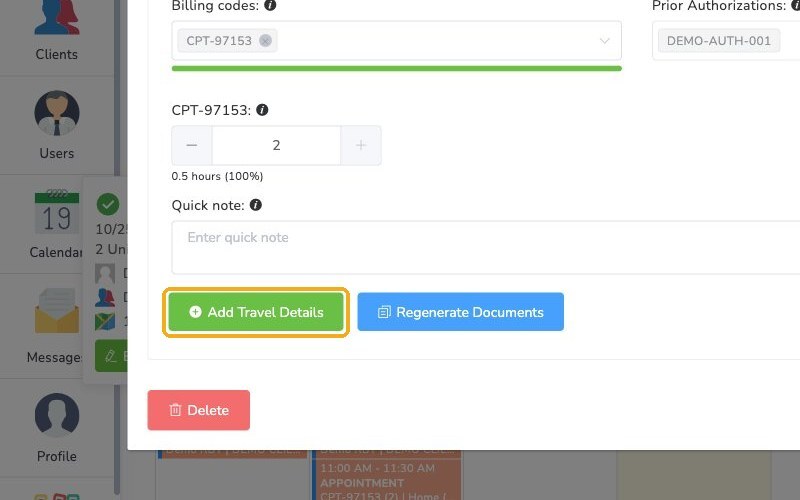
If Allow Travel is on, you'll see Add Travel Details at the bottom. Click it to open a wizard where you add where you're coming from and calculate the distance and duration.
Save the event
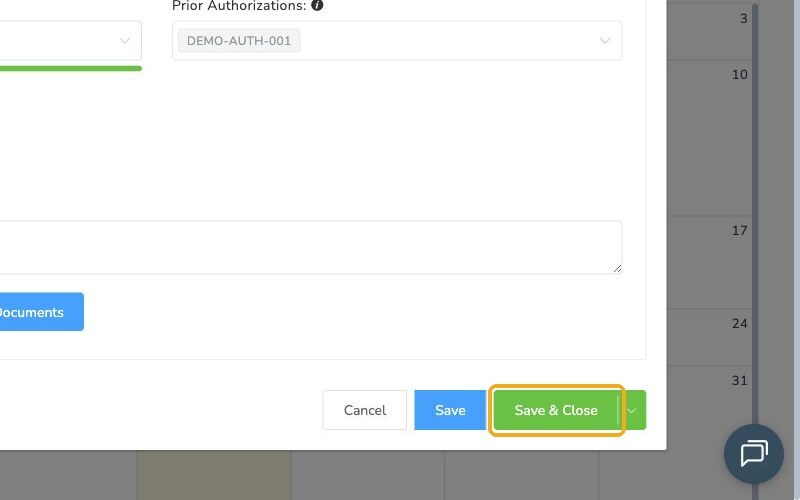
Click Save to keep the event open, or Save & Close.
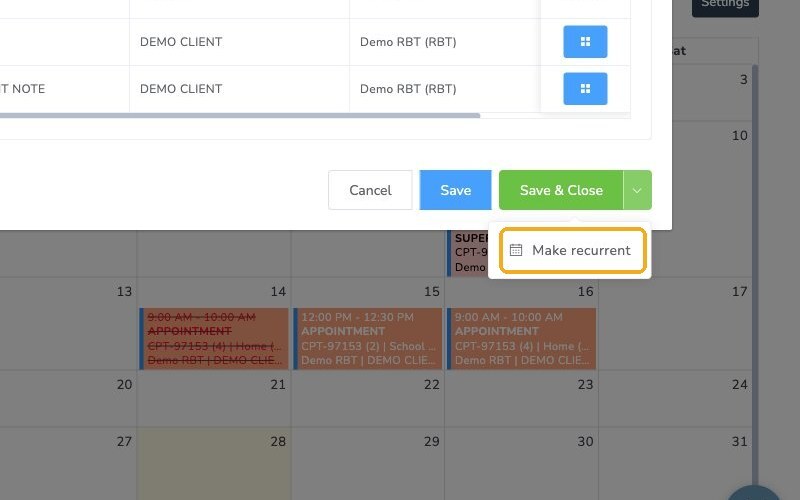
To repeat the visit, click the arrow by Save & Close and choose Make recurrent.
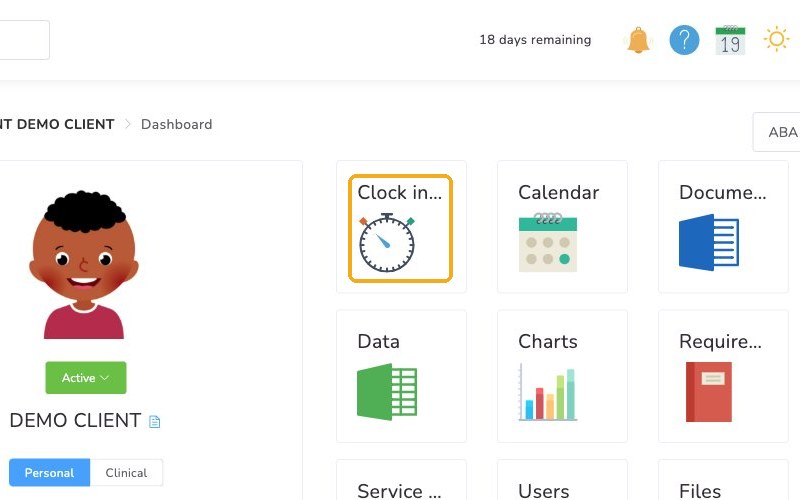
If the event is Clockable, staff will clock in and out on the event during the visit.
After you save
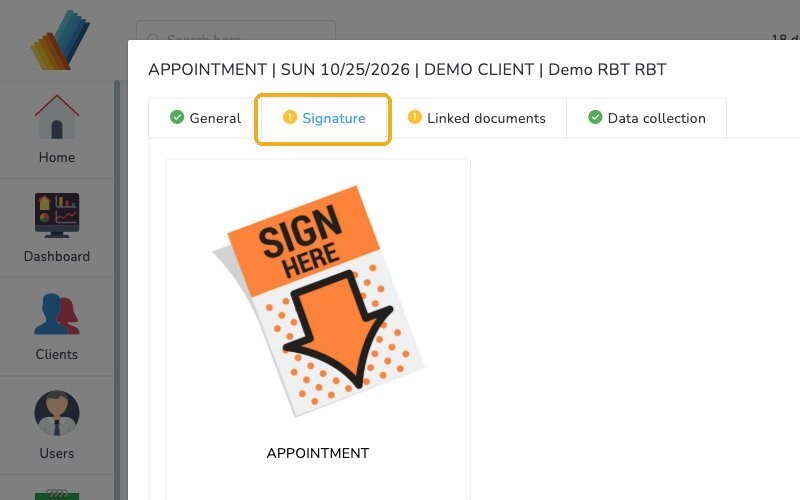
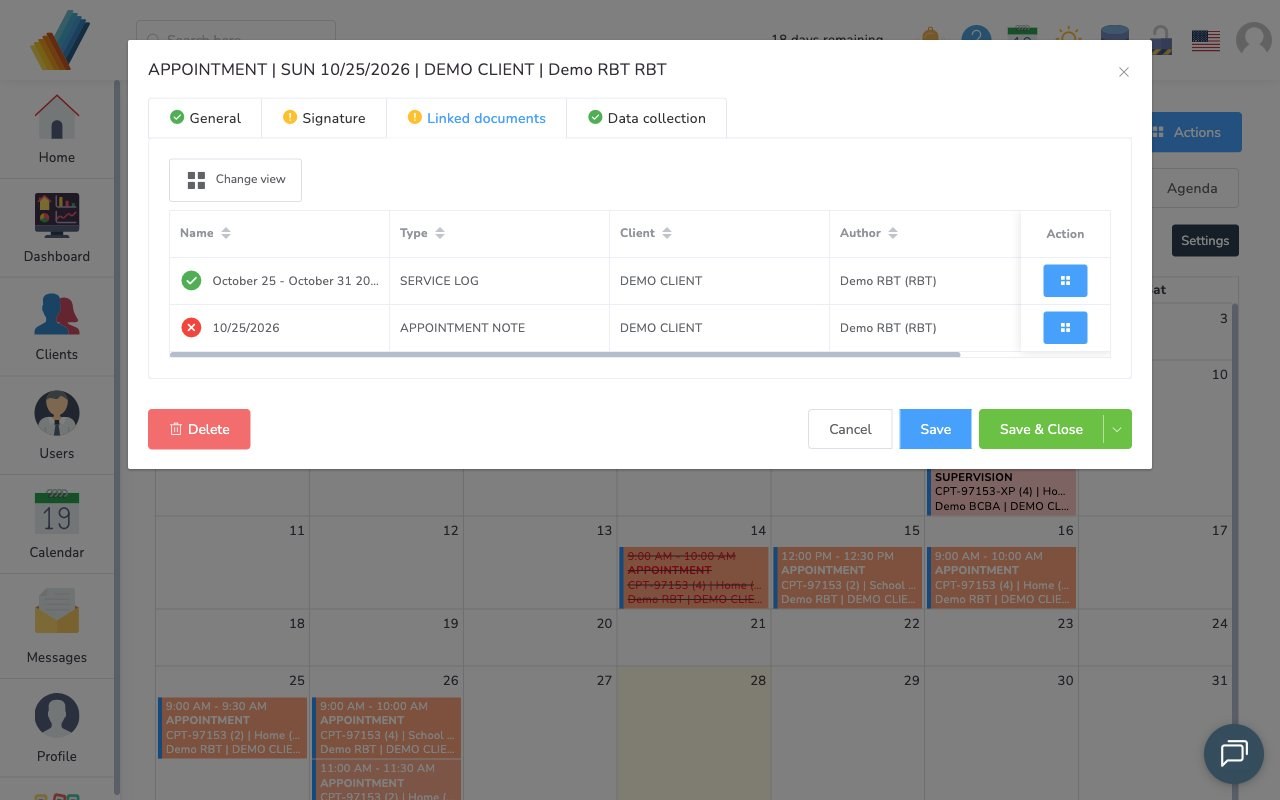
The Signature and Linked documents tabs now appear. If you required a signature, collect it on the Signature tab.
Click the Linked documents tab. Office Puzzle created the session note and service log for this visit automatically.
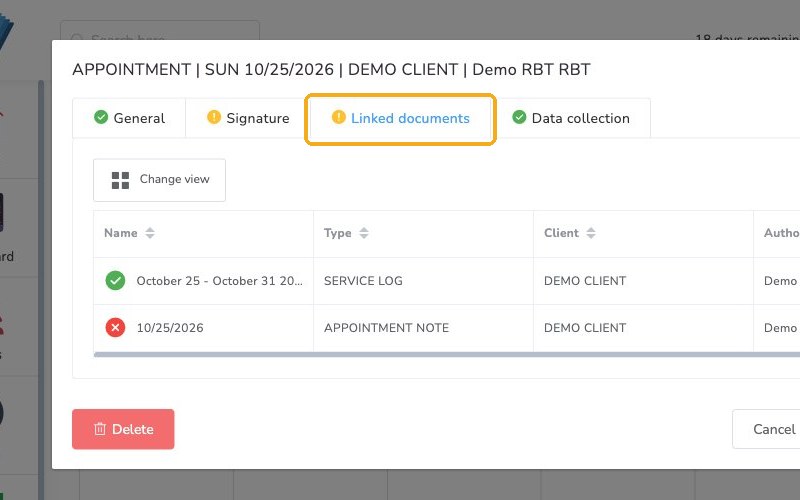
The technician can also collect data in the Data collection tab. The Collect Data video covers that.
Check it worked
- The event is saved and the Signature and Linked documents tabs appear.
- The units filled in from the time and billing code you chose.
- The Linked documents tab shows the session note and service log.
Watch out for
- If Require Prior Authorization is on, the visit won't save until you choose the client's authorization.
- The Add Travel Details option only appears if Allow Travel is on.