
What you'll do
Create a basic service plan for a client: add categories and items, set up the instructions and data collection for each item, and generate objectives. The plan gives data collection and documentation their structure.
Before you start
- Have the client's profile ready in Office Puzzle.
Video walkthrough
Step by step
Create the plan
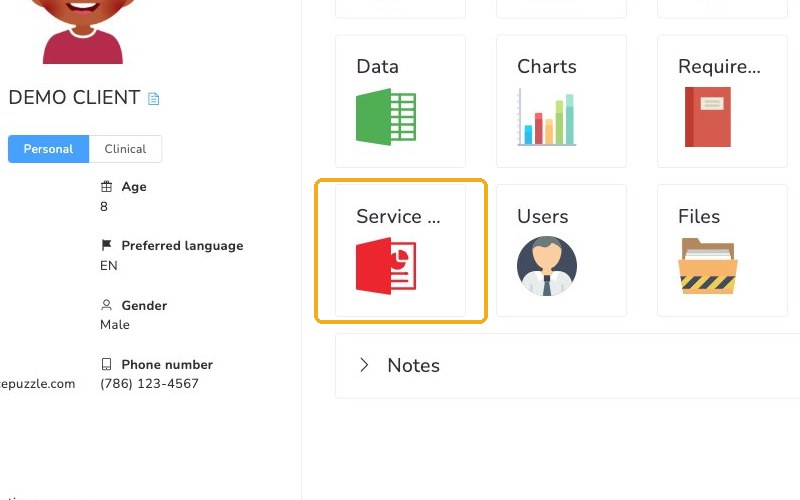
Open the client's profile and click Service plans. All of the client's service plans are stored here.
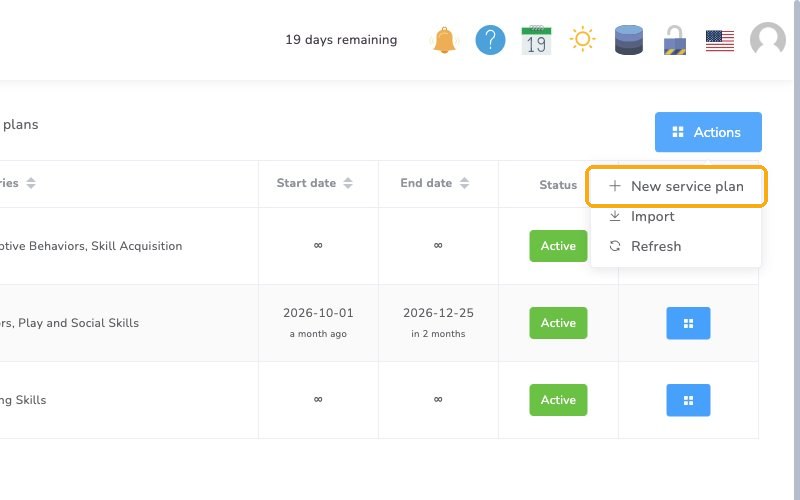
Click Actions in the upper right, then select New service plan.
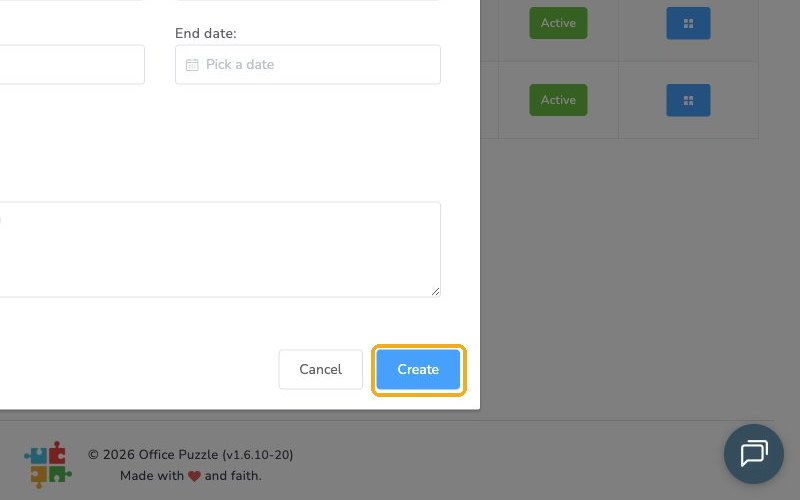
Enter the plan's basic information and click Create.
Only active plans are used
A plan with a start date in the future or an end date in the past won't appear on assessment documents. Office Puzzle only pulls from active plans.
Add categories and items
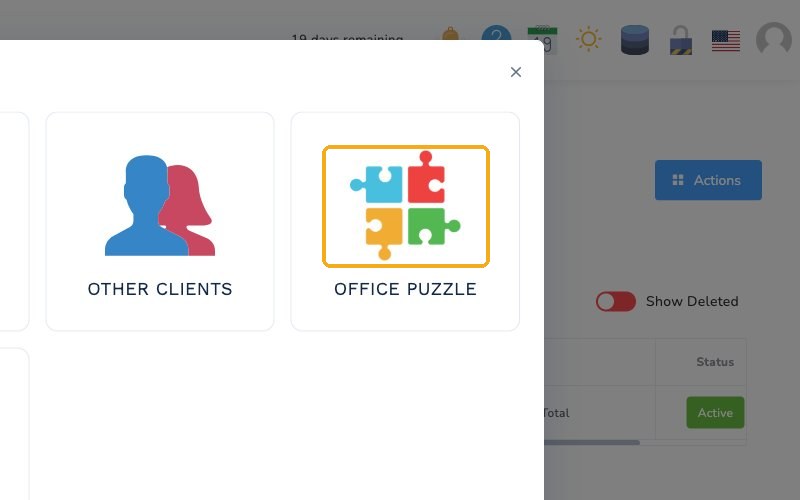
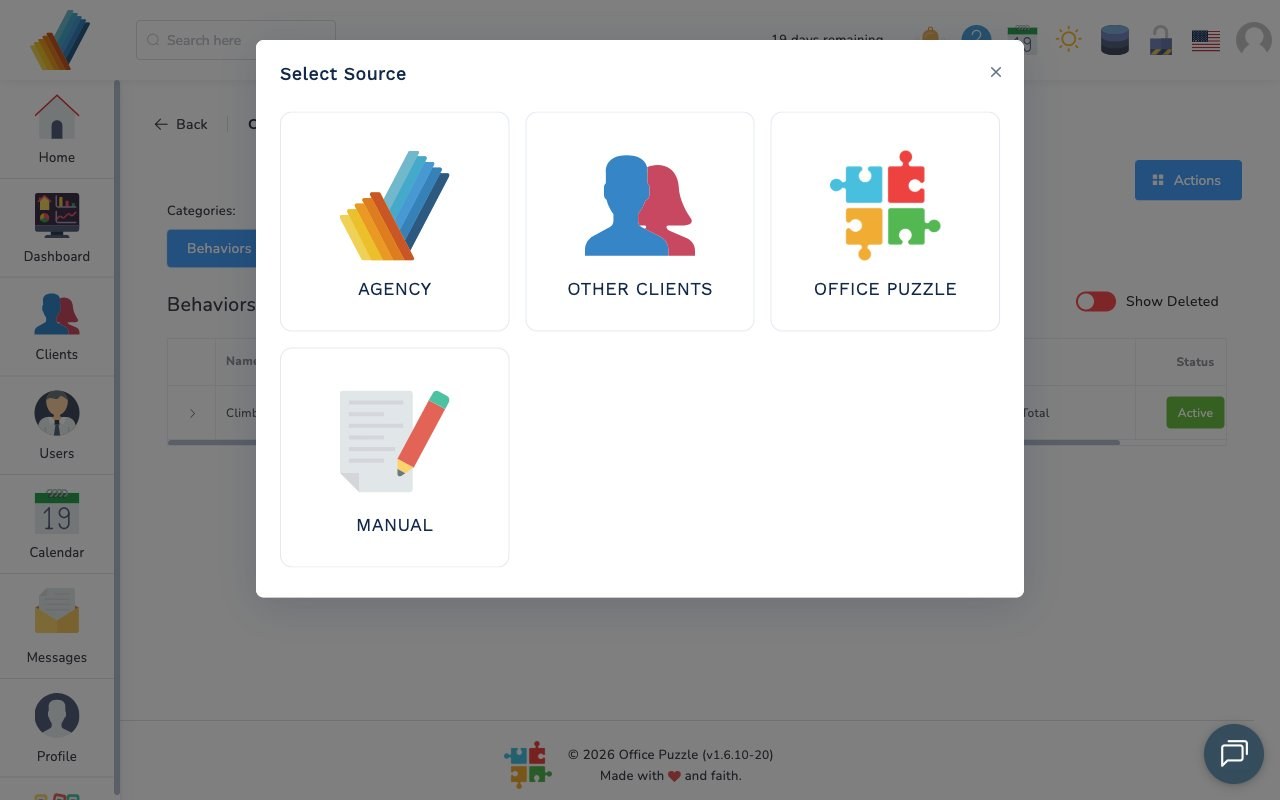
Click New category. You'll see four sources: AGENCY (store pre-set categories), OTHER CLIENTS (reuse another client's categories), OFFICE PUZZLE (the built-in library) and MANUAL.
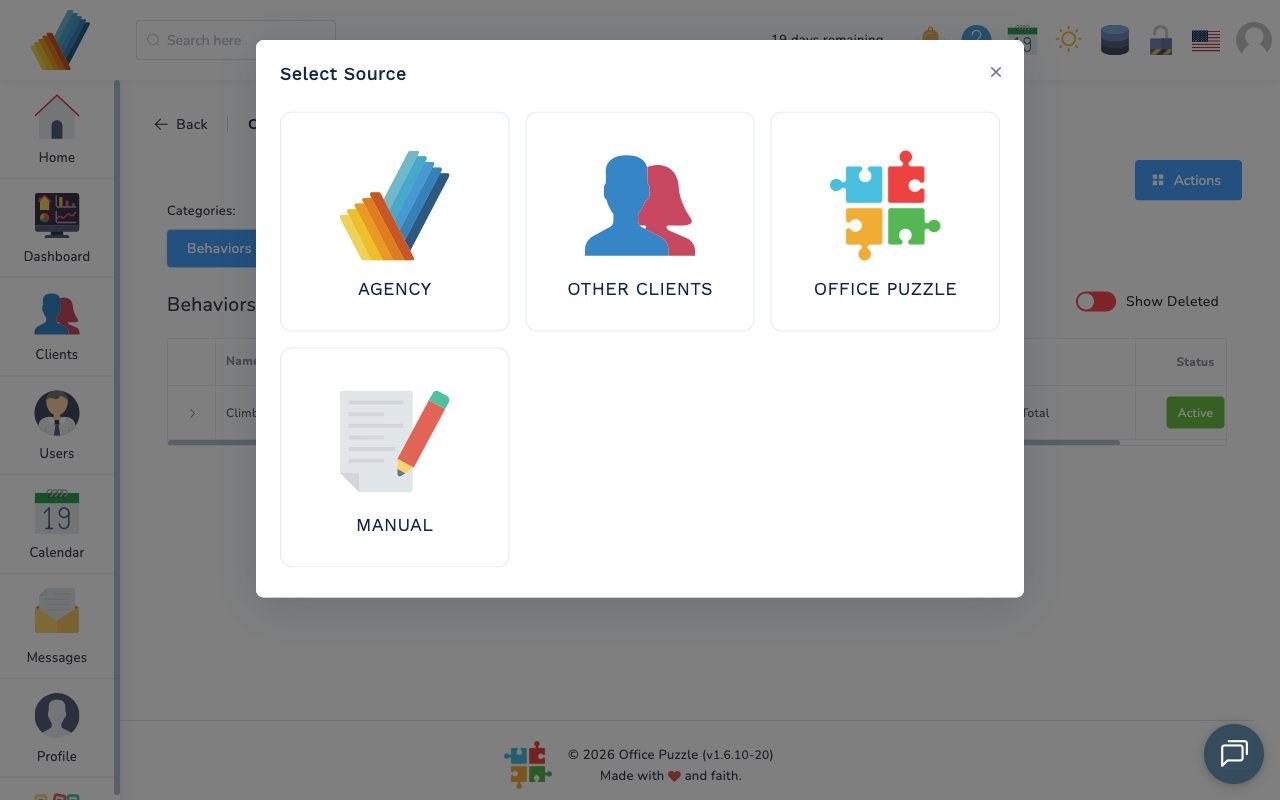
Choose OFFICE PUZZLE, then pick the categories to add.
In a category, click New item. You'll see the same four sources. Scroll or search the library to find the items you want.
Set up an item for the RBT
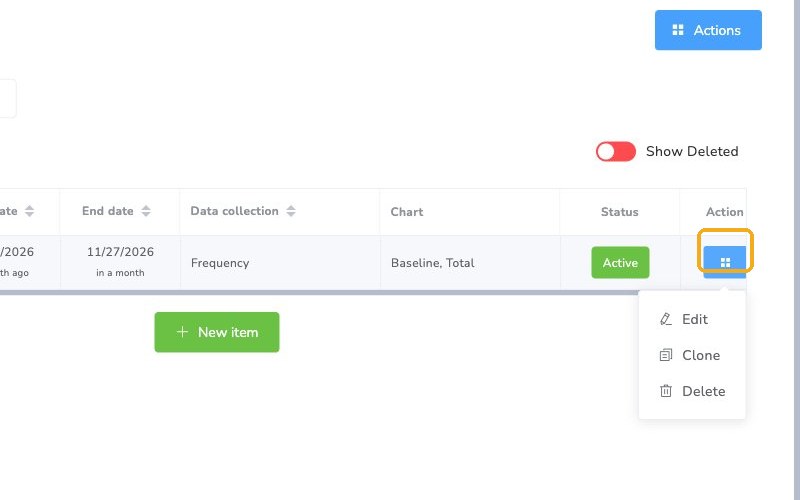
Click the blue action button on the right of the item, then select Edit.
In Examples, describe how the client performs this item. Set its status, which you can update as the plan progresses.
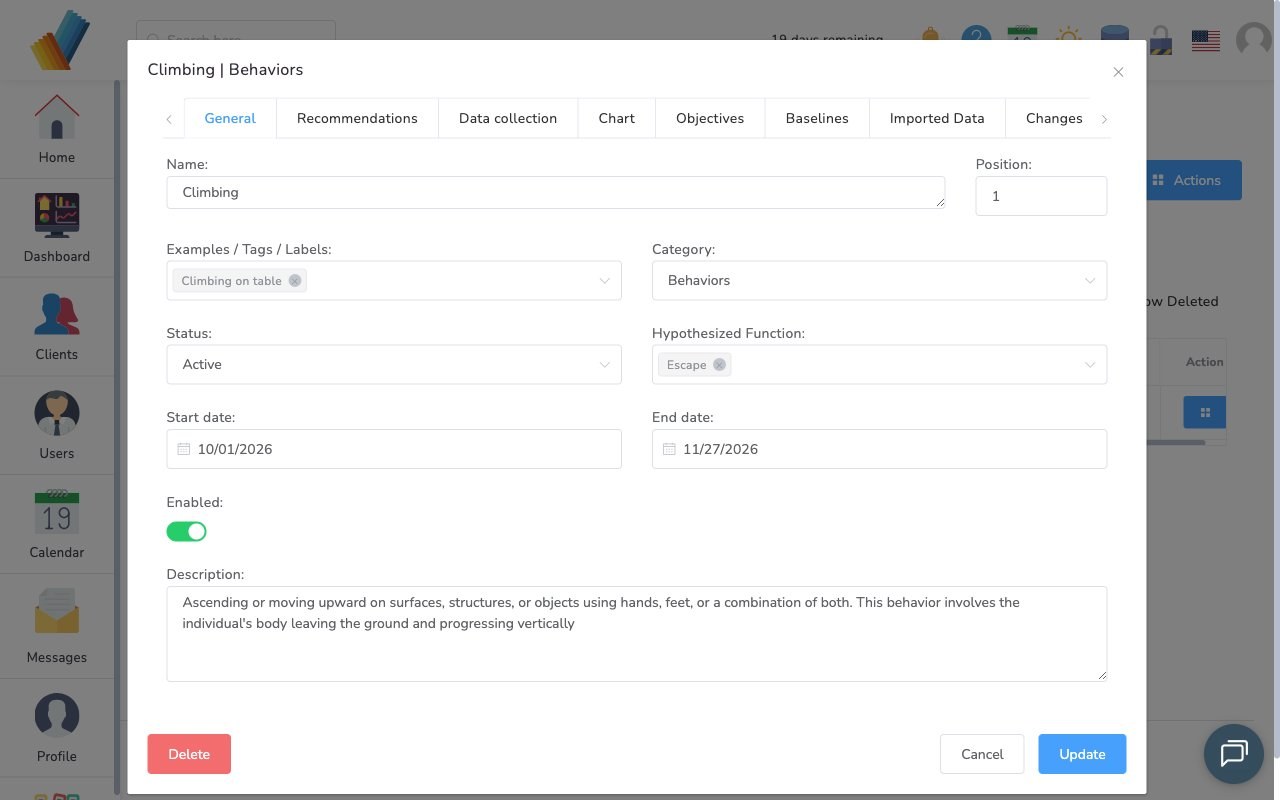
Choose a Hypothesized Function from the list, or type your own. The system adds a description you can edit.
On the Recommendations tab, choose a strategy. The fields fill in based on it, and you can edit any of them. Replacements pulls in items from your skills categories.
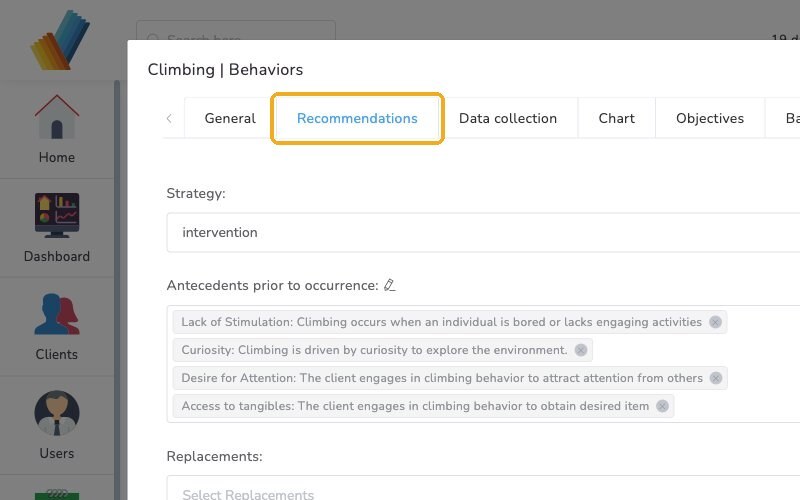
On the Data collection tab, choose how you'll collect data. Then add levels manually or from the library, such as Levels of Prompts.
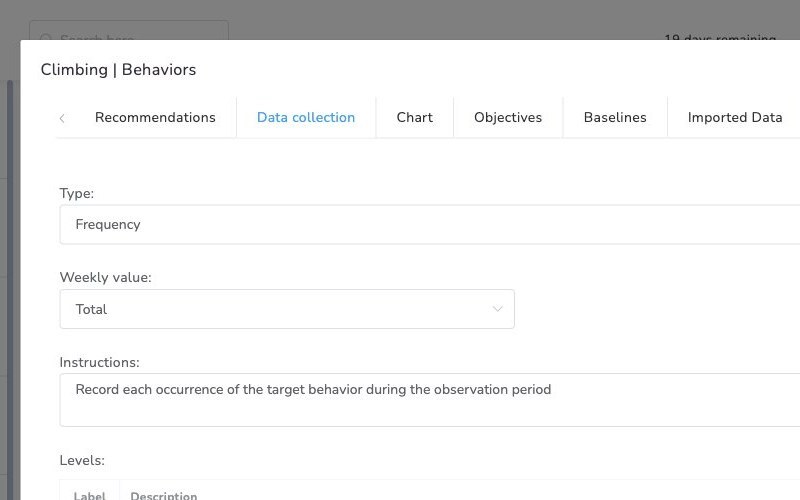
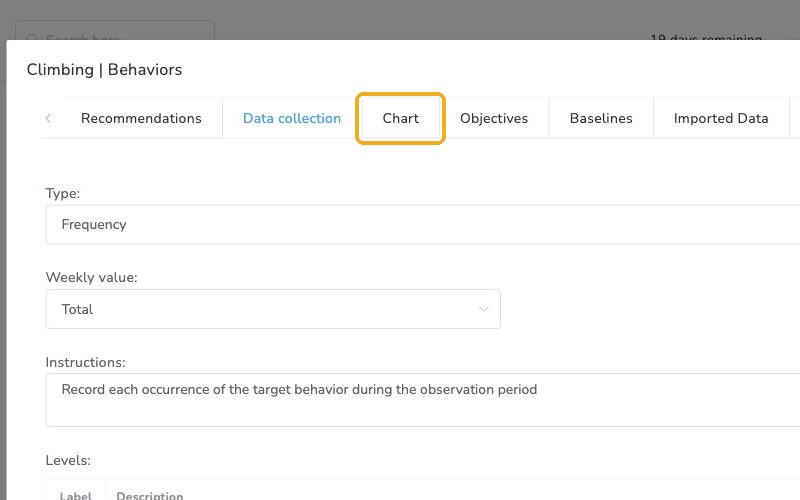
Click the Chart tab to customize how the chart looks for this data.
Generate objectives
Select the Objectives tab.
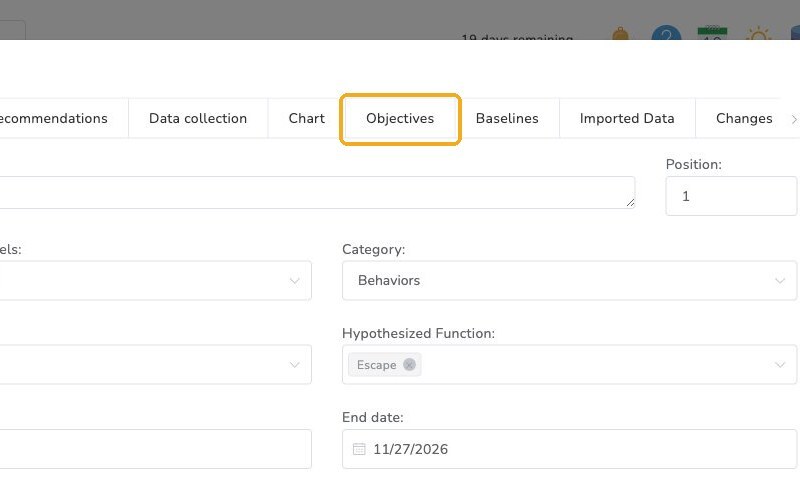
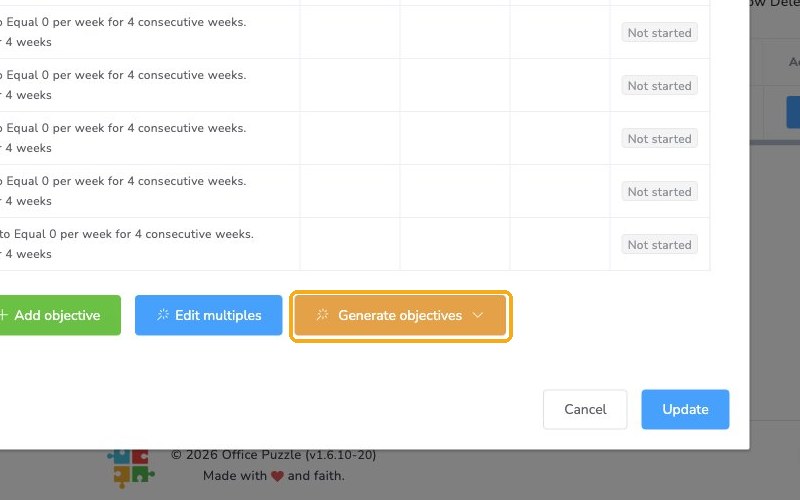
Generate your objectives. This is the easiest way, and we recommend it.
Enter where the client starts, where you want them to end up, how many objectives you want, the condition and the duration. Then pick a template for the wording.
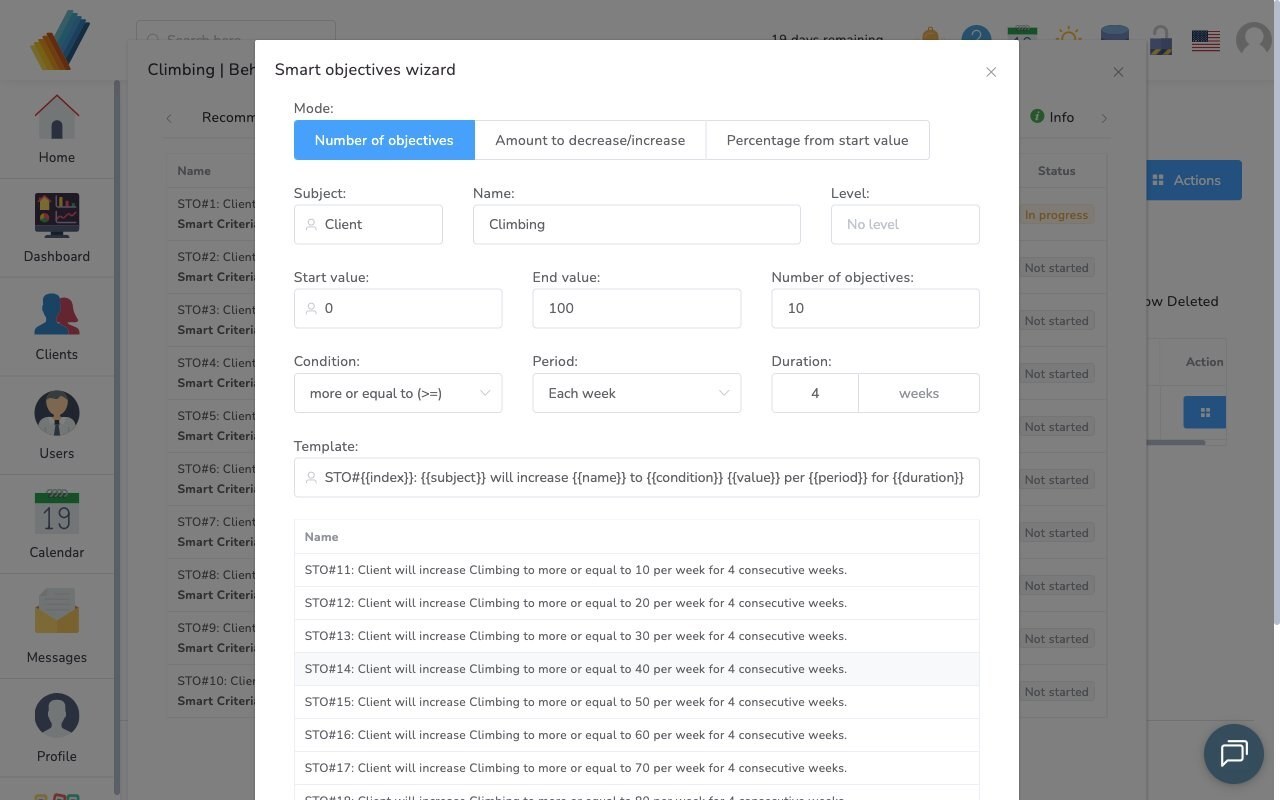
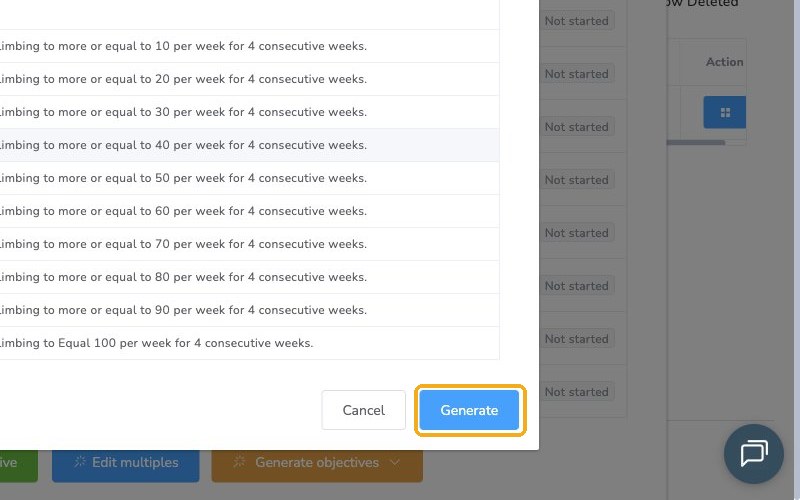
Review the objectives, edit them if needed, and click Generate.
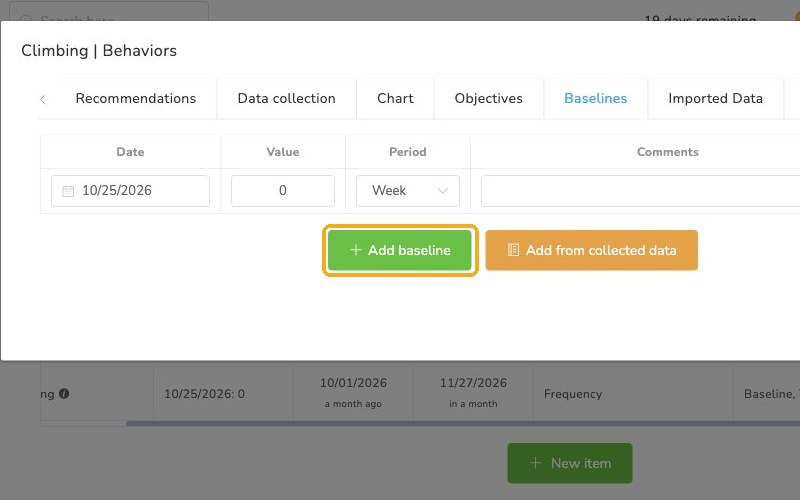
Select the first objective to set its start and estimated end dates. If you have baseline data, click Add baseline. Click Update to save.
Check it worked
- The client's Service plans page lists the new plan.
- The plan's start date is not in the future and its end date is not in the past, so it counts as active.
- Your item shows its examples, status, strategy and data collection settings, and your objectives show start and estimated end dates.
Watch out for
- A plan with a future start date or a past end date won't appear on assessment documents. Office Puzzle only pulls from active plans.